Transforming clove seeds into a thriving clove plant is a fulfilling journey that requires patience, care, and a bit of green-thumb know-how. Whether you’re a gardening enthusiast or simply curious about growing your own spices, this detailed guide will walk you through every step of cultivating cloves, from germination to harvesting.
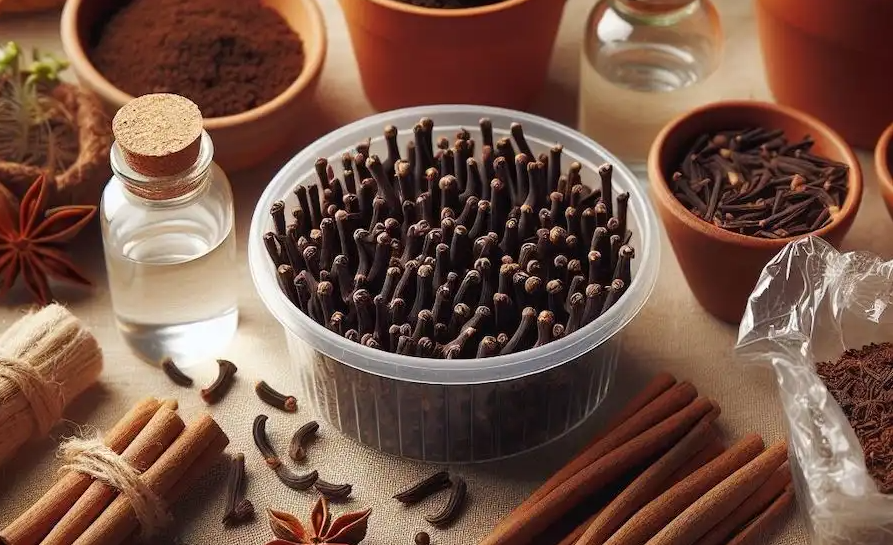
Germinating Clove Seeds
Start your clove-growing adventure with proper seed preparation and care during germination.
Materials You’ll Need:
- Fresh clove seeds
- Small pots or seed trays
- Well-draining potting soil
- Plastic wrap or a clear cover
- Warm water
Steps to Germinate Clove Seeds:
- Choose Fresh Seeds: Opt for plump, healthy clove seeds. Fresh seeds significantly increase your chances of successful germination.
- Soak the Seeds: Place the seeds in warm water for 24 hours. This softens their tough outer shells, making germination easier.
- Prepare Pots or Trays: Fill small pots or seed trays with well-draining potting soil, leaving some space at the top.
- Plant the Seeds: Insert the soaked seeds about an inch deep into the soil, placing one seed per pot or spacing them evenly in trays.
- Cover the Pots: Use plastic wrap or a clear cover to create a greenhouse effect, retaining warmth and moisture for optimal germination.
- Maintain Moisture and Warmth: Keep the soil consistently moist but not soggy. Position the pots in a warm area with indirect sunlight.
- Be Patient: Clove seeds take several weeks to sprout. Once you see green shoots, remove the plastic cover and gradually introduce filtered sunlight.
Transplanting Clove Seedlings
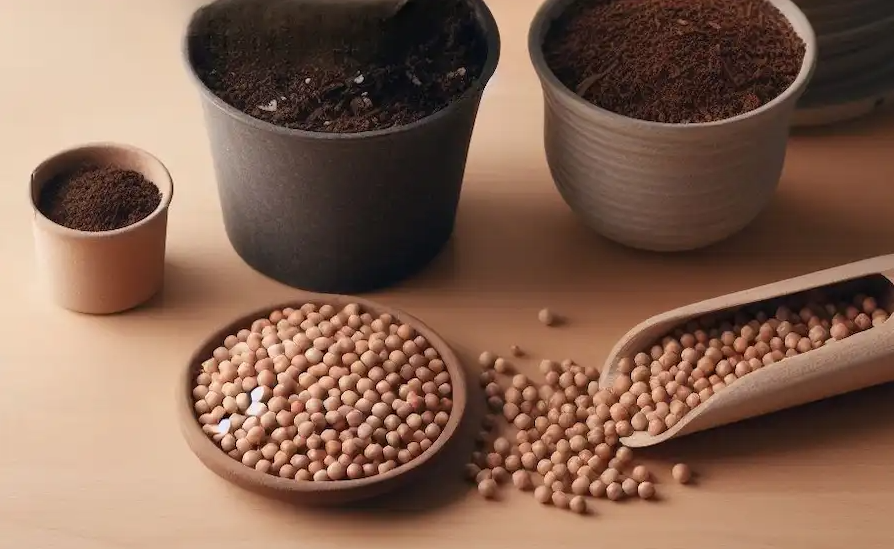
After successful germination, it’s time to move the seedlings to larger pots.
Materials You’ll Need:
- Larger pots with drainage holes
- Nutrient-rich, well-draining potting mix
- Slow-release or organic fertilizer
Steps to Transplant Seedlings:
- Prepare the Pots: Fill larger pots with a rich potting mix. Ensure good drainage to prevent root rot.
- Transfer the Seedlings: Once your seedlings have a few sets of true leaves, gently transplant them into the prepared pots. Handle the roots carefully to avoid damage.
- Fertilize and Water: Lightly fertilize the soil with a balanced or organic fertilizer. Keep the soil consistently moist but not waterlogged.
Caring for Clove Plants
Proper care is essential for your clove plants to thrive and eventually produce the fragrant cloves you’re growing them for.
Light and Temperature: Clove plants flourish in warm, humid conditions with partial shade. Maintain temperatures between 60°F and 90°F (15°C to 32°C).
Watering: Water when the top inch of soil feels dry, but don’t let the soil become soggy. Proper hydration is key.
Humidity: Cloves thrive in high humidity. Mist the leaves regularly or place a humidifier nearby to maintain ideal conditions.
Pruning: Occasionally prune your clove plant to encourage bushy growth and remove any dead or damaged leaves.
Harvesting Cloves
Patience is key when growing cloves, as the plant can take several years to mature and produce flower buds.
- Harvest Timing: Pick the cloves when they turn pink or reddish but before they fully open.
- Drying Process: Spread the harvested buds in a shaded, well-ventilated area until they dry completely.
Tips for Success
- Regularly inspect your plants for pests or diseases and address issues promptly.
- Ensure your clove plant has ample space for roots to grow and leaves to spread.
- Use organic fertilizers sparingly to avoid overfeeding the plant.
Enjoy the Fruits of Your Labor
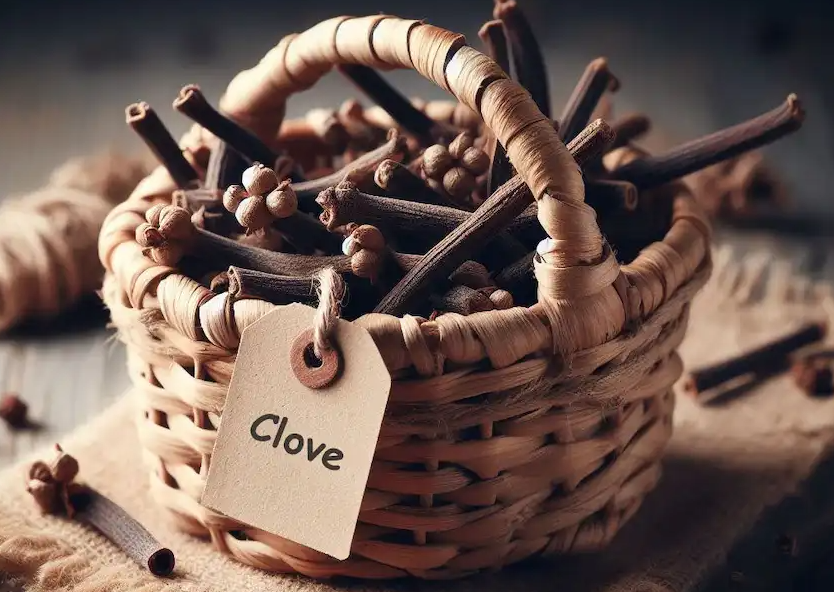
Growing clove plants from seeds is a rewarding endeavor, offering not only the satisfaction of cultivating your own spices but also the joy of nurturing a plant with such significant culinary and aromatic value. With time, care, and the steps outlined in this guide, you’ll be well on your way to harvesting your very own cloves.
Inspired by this? Share this guide with fellow gardening enthusiasts!
