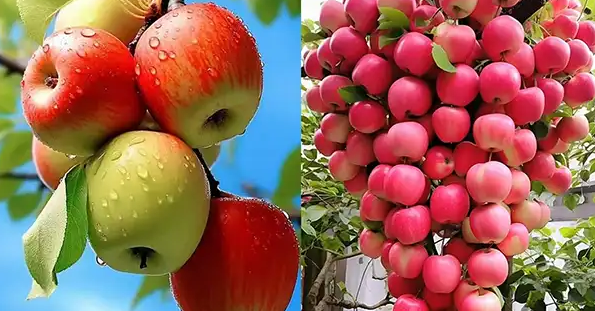
Apple trees are a stunning addition to any garden, offering shade, beauty, and the promise of fresh, delicious fruit. While most apple trees are grown from grafted rootstocks for consistent fruit quality, cultivating an apple tree from seeds is an enriching and rewarding experience. Although the apples produced might differ from their parent tree, they will still delight you with their unique flavor and charm. Here’s a comprehensive guide to growing an apple tree from seeds, ensuring a thriving and fruitful tree.

Step 1: Collecting Apple Seeds
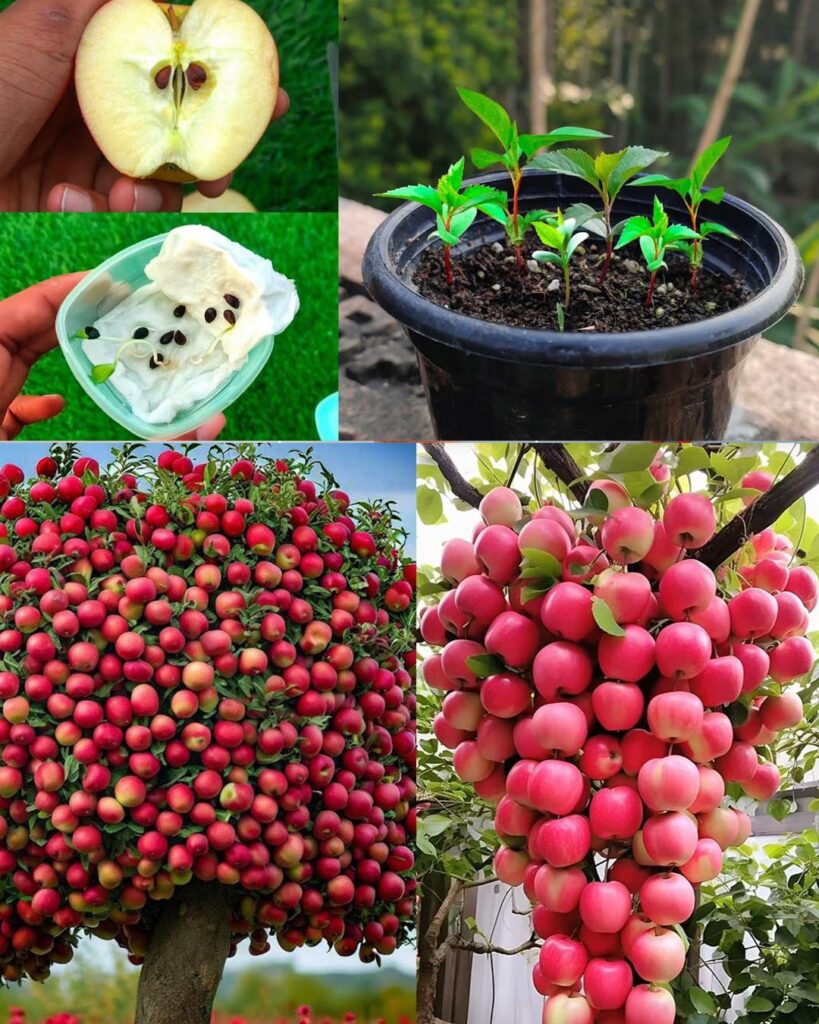
Start by selecting your preferred apple variety based on taste, size, and adaptability to your local climate. Choose healthy, ripe apples, slice them open, and carefully remove the seeds. Rinse the seeds thoroughly to eliminate any pulp, then air dry them for a few days to prevent mold from forming during storage.
Step 2: Cold Stratification
Apple seeds require a period of cold stratification to simulate the winter conditions necessary for germination. Wrap the dried seeds in a damp paper towel, place them in a sealed plastic bag, and refrigerate them for 6–8 weeks. This process breaks dormancy and prepares the seeds for planting.
Step 3: Germinating the Seeds
After stratification, plant the seeds in a seedling tray or small pots filled with a well-draining potting mix. Bury the seeds about ½ inch deep and cover them lightly with soil. Moisten the soil and cover the container with plastic wrap or a clear lid to create a greenhouse effect. Position the container in a warm, bright area with indirect sunlight. Be patient—germination may take several weeks. Once sprouts appear, remove the plastic covering to allow air circulation.
Step 4: Caring for Seedlings
As the seedlings grow, provide plenty of sunlight—at least 6–8 hours daily. If sunlight is limited, supplement with a grow light. Keep the soil consistently moist but avoid overwatering, as soggy soil can harm the roots. Once the seedlings are a few inches tall with several leaves, they’re ready to be transplanted into larger pots or directly into the ground.
Step 5: Transplanting Your Seedlings
Choose a sunny, well-drained location for your apple tree. Prepare the planting site by digging a hole twice as wide as the seedling’s root ball. Carefully remove the seedling from its pot, taking care not to damage its delicate roots. Place the seedling in the hole, ensuring the base of the stem is level with the ground. Fill the hole with soil, pat it down gently, and water thoroughly to settle the soil.
Step 6: Ongoing Care and Maintenance
- Mulching: Apply a layer of mulch around the base of the tree to retain soil moisture and reduce weeds.
- Watering: Water the tree regularly, especially during dry periods. Aim for at least 1 inch of water per week.
- Pruning: Prune annually to shape the tree, remove dead or diseased branches, and improve air circulation.
- Fertilizing: Feed the tree in early spring with a balanced, slow-release fertilizer to support growth and fruit development.

Step 7: Patience and Harvest
Growing an apple tree from seed is a labor of love that requires patience. It typically takes 6–10 years for seed-grown apple trees to bear fruit. Once your tree starts producing apples, you’ll enjoy the excitement of harvesting fruit that’s uniquely yours. While the flavor and appearance of the apples may not mirror their parent variety, their uniqueness adds to the charm of this homegrown endeavor.
Why It’s Worth the Wait
Growing an apple tree from seeds isn’t just about the fruit—it’s about the journey. Watching a tiny seed transform into a towering, fruitful tree is a testament to nature’s magic and your dedication. Beyond the delicious harvest, your apple tree will enhance your garden’s beauty, attract pollinators, and provide a lasting legacy for years to come.
So, what are you waiting for? Start your apple-growing adventure today and reap the rewards of your hard work in the seasons to come.
Inspired by this? Share the joy of growing your own apple tree with your friends!


