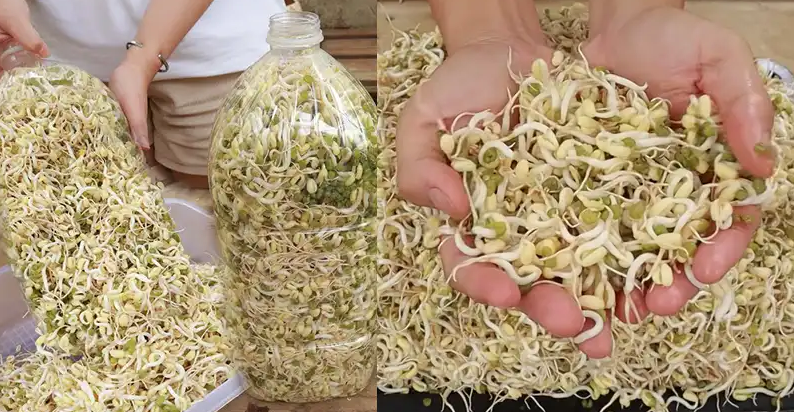
Bean sprouts are a delightful addition to countless dishes, from salads and stir-fries to soups and sandwiches. Their fresh crunch and impressive nutritional profile make them a kitchen staple. While store-bought sprouts are convenient, growing your own at home is a rewarding and eco-friendly way to ensure freshness and quality. Using simple materials like plastic bottles, you can cultivate plump, white bean sprouts in just a few days.
Materials You’ll Need
- Mung beans (green beans work best for sprouting)
- Warm water
- Three large plastic bottles (at least 5 liters each)
- A smaller plastic bottle (for seed distribution)
- A sharp tool or drill (to create holes in caps)
- Towels (to maintain moisture and darkness)
- Scissors or a knife (for cutting bottles)
Step 1: Soak the Beans
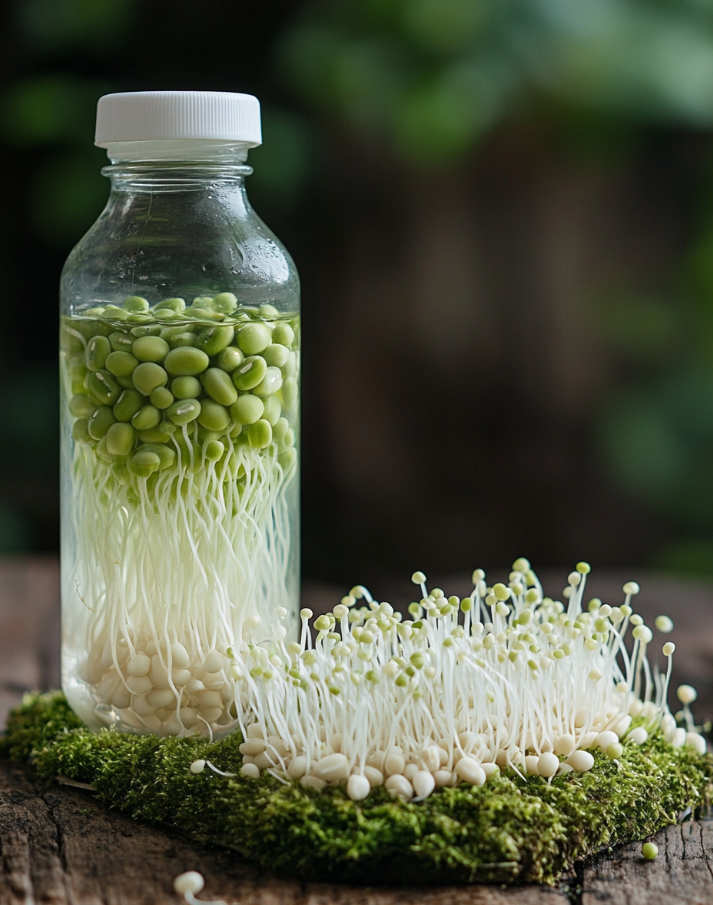
Start by rinsing your mung beans thoroughly to remove any debris. Place them in a bowl and add enough warm water to cover the beans entirely. Stir gently to ensure the beans are well-hydrated. Let them soak for approximately four hours—this step is crucial as it kickstarts the sprouting process by softening the bean shells.
Step 2: Prepare the Bottles
While the beans are soaking, get your plastic bottles ready. Use a sharp tool or drill to create small holes in the caps of the large bottles. These holes will promote airflow, which is essential for healthy sprout growth. Ensure the holes are evenly spaced for optimal ventilation.
Step 3: Transfer the Beans
After soaking, drain the beans and prepare to distribute them into the bottles. Take a smaller bottle and cut off the top to create a funnel. Use this funnel to pour the soaked beans into the larger bottles, dividing them evenly among the three containers.
Step 4: Cover and Create the Ideal Environment
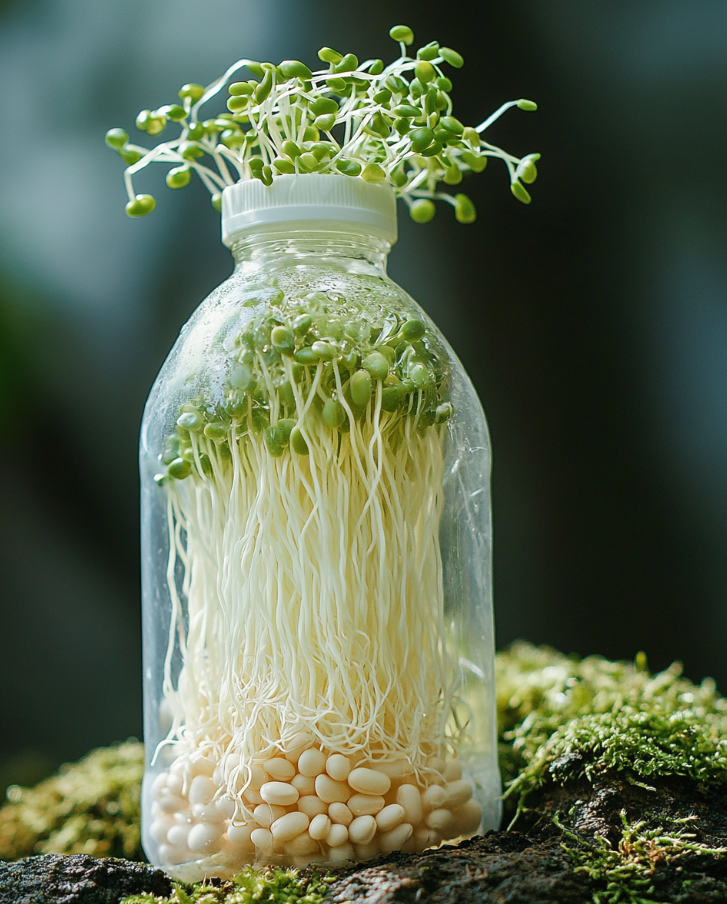
Secure the caps onto the bottles and cover the containers with towels to create a dark, moist environment. Slightly dampen the towels by spraying them with water—this helps maintain the right level of humidity for sprouting. Darkness encourages the sprouts to grow white and plump.
Step 5: Watering and Draining
For the next four days, water the beans three times daily to keep them hydrated. Each time, pour water into the bottles and let it sit for about five minutes. Afterward, replace the caps and invert the bottles to drain excess water. This step prevents waterlogging, which could lead to mold or rot. Once drained, re-cover the bottles with the damp towels to preserve the ideal growing conditions.
Step 6: Harvest Your Sprouts
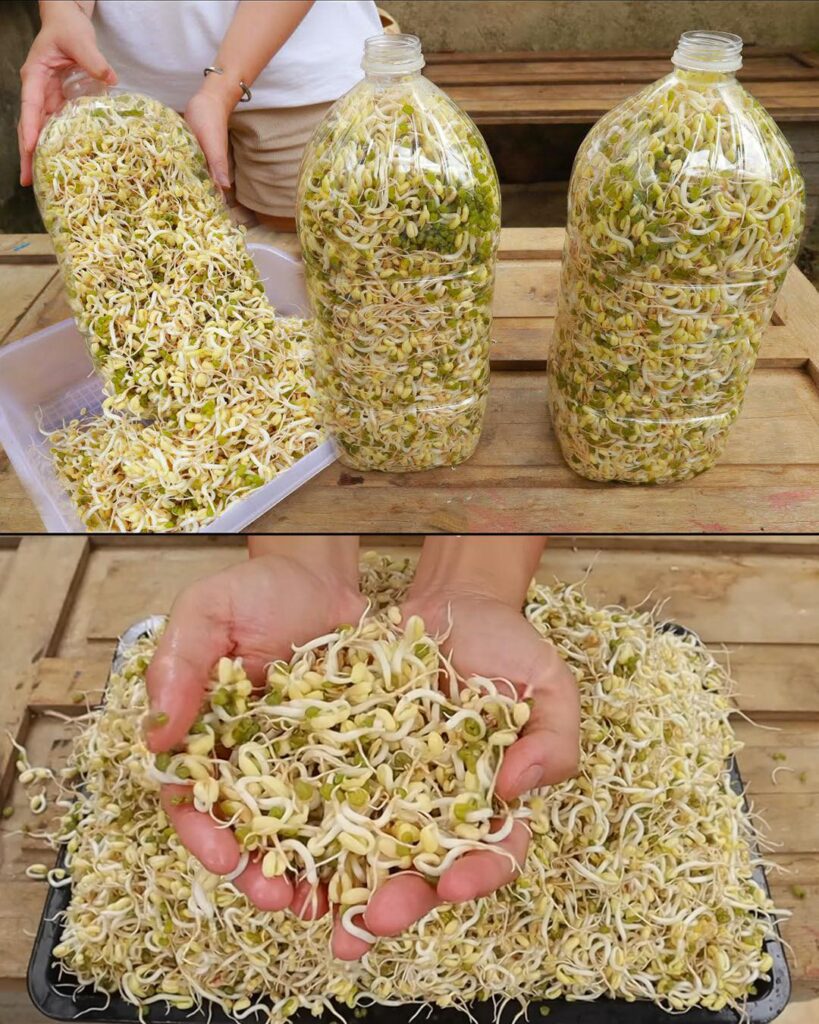
By the fourth day, your bottles will be brimming with fresh, white bean sprouts. Carefully cut open the plastic bottles to avoid damaging the delicate sprouts. Once removed, rinse the sprouts thoroughly under cold water to remove any remaining seed husks.
Enjoy the Fruits of Your Labor
Congratulations—you’ve successfully grown your own bean sprouts! Incorporate them into your favorite recipes for a fresh, crunchy boost of nutrition. These homegrown sprouts are not only free from preservatives but also taste better than store-bought ones, thanks to the care you put into growing them.
Why Grow Bean Sprouts at Home?
Growing bean sprouts in plastic bottles is an easy and cost-effective way to add nutrient-rich greens to your meals. This method minimizes waste by repurposing plastic bottles and ensures that your sprouts are as fresh and clean as possible. Plus, watching your sprouts grow day by day is both satisfying and educational—a perfect activity for adults and kids alike.
Try this DIY method today and experience the joy of cultivating your own food at home. Happy sprouting!
Inspired by this? Share the knowledge with your friends and family!

