Imagine a single rose bush blooming in two different colors—a truly breathtaking sight. With the art of grafting, you can make this dream a reality. Grafting roses is surprisingly simple, allowing you to combine the best qualities of two plants into one stunning creation. In this step-by-step guide, we’ll show you how to graft a rose bush to achieve different flower colors, even using healthy rootstocks to preserve the vibrancy of an otherwise weak rose variety.

The Perfect Season for Grafting
Timing is everything when grafting roses. Summer is ideal as the sap flows most vigorously during this period, supporting the grafting process. You can also proceed when your rose bushes are actively growing and appear lush, fresh, and vibrant. Ready to dive in? Let’s begin.
Step-by-Step Guide to Grafting Roses

Step 1: Prepare Your Tools
Start by thoroughly cleaning your knife with rubbing alcohol to eliminate any bacteria or pathogens. This prevents the spread of diseases during the grafting process.
Step 2: Collect Your Scions
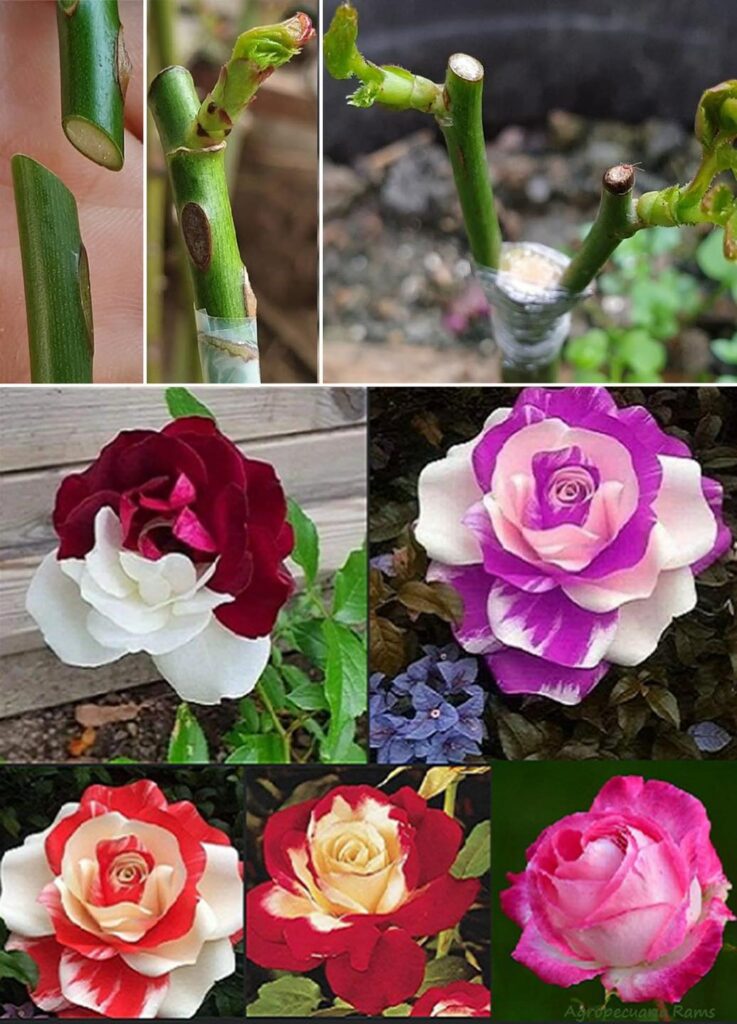
Identify the rose bush whose color you want to graft. Select a healthy stem and cut a section with three buds. Trim the stem just above the third bud to create your scion, the piece you’ll graft onto the base plant.
Step 3: Shape the Scion
Carve a clean, “V”-shaped notch at the bottom end of your scion using a sharp utility knife. This ensures a snug fit with the rootstock.
Step 4: Prepare the Rootstock
Choose a strong, woody stem from the rootstock plant—preferably a biennial stem for added durability. Avoid using young or new growth. Trim the top of the rootstock stem and make a vertical cut about one centimeter deep to create a slot for the scion.
Step 5: Connect Scion and Rootstock
Insert the “V”-shaped end of the scion into the rootstock’s cut, ensuring the cambium layers (the green layer beneath the bark) of both stems are aligned. Wrap the graft tightly with adhesive or grafting tape to hold it securely in place.
Step 6: Allow the Graft to Heal
Leave the graft undisturbed for four to six weeks as the two plants fuse together. You can repeat these steps to add additional scions, creating a multi-colored rose bush.
Caring for Your Newly Grafted Rose

Proper aftercare ensures your grafting efforts are successful. Here’s how to nurture your grafted rose bush:
- Watering: Keep the soil consistently moist for the first 15 days, watering generously but avoiding waterlogging.
- Pruning: Remove the first two to four shoots that sprout from the grafted stem to help stabilize the plant and encourage proper growth.
- Tape Removal: The adhesive tape will naturally loosen as the graft starts to grow. Avoid forcibly removing it.
- Soil Enrichment: Add a mix of compost and organic matter, such as smoke-treated substrate, to keep the plant nourished.
- Optimal Environment: Ensure your rose bush gets ample sunlight, good airflow, and adequate space to flourish.
A Blooming Masterpiece
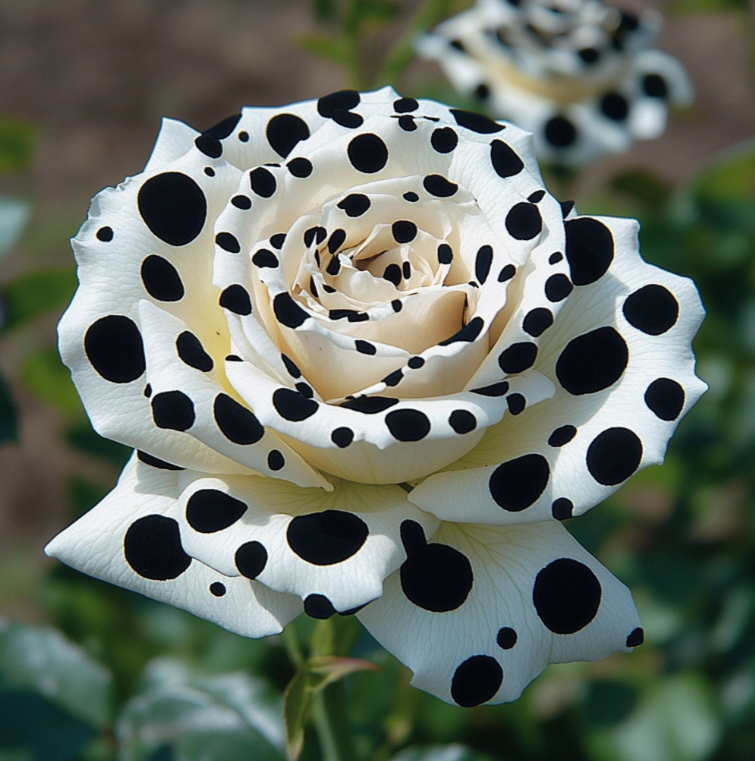
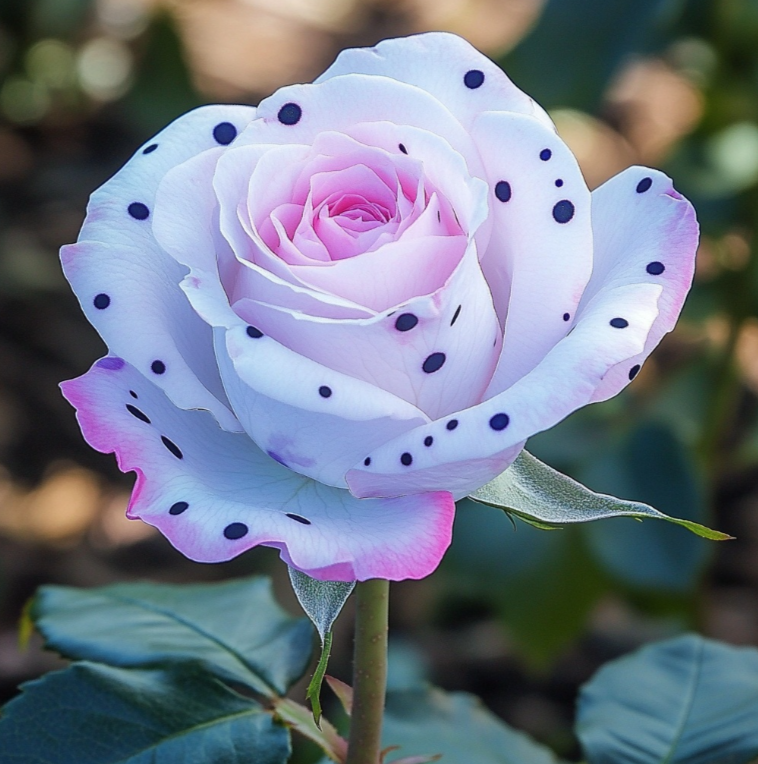
Once the graft takes hold, you’ll witness your rose bush producing flowers in two distinct colors—each stem a testament to your gardening skill. This fusion of beauty and technique will elevate your garden and offer endless inspiration for future projects.
Share the Beauty
Now that you’ve mastered the process, why stop at one bush? Experiment with different colors and varieties to create a garden filled with unique, multi-colored roses. Share your success story and inspire others to try grafting, turning their gardens into vibrant masterpieces of color and creativity.


