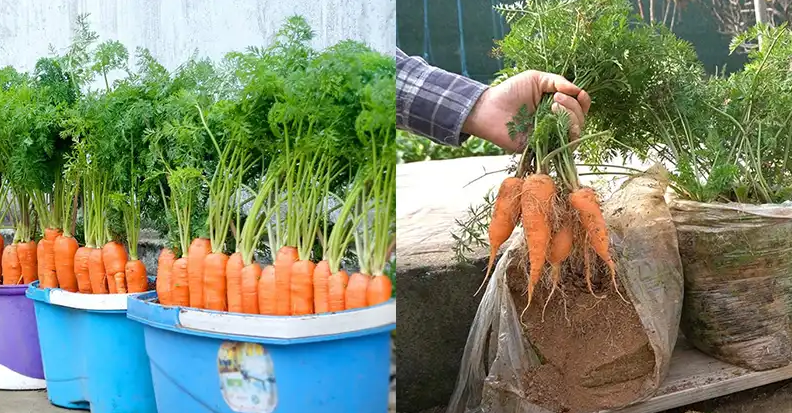
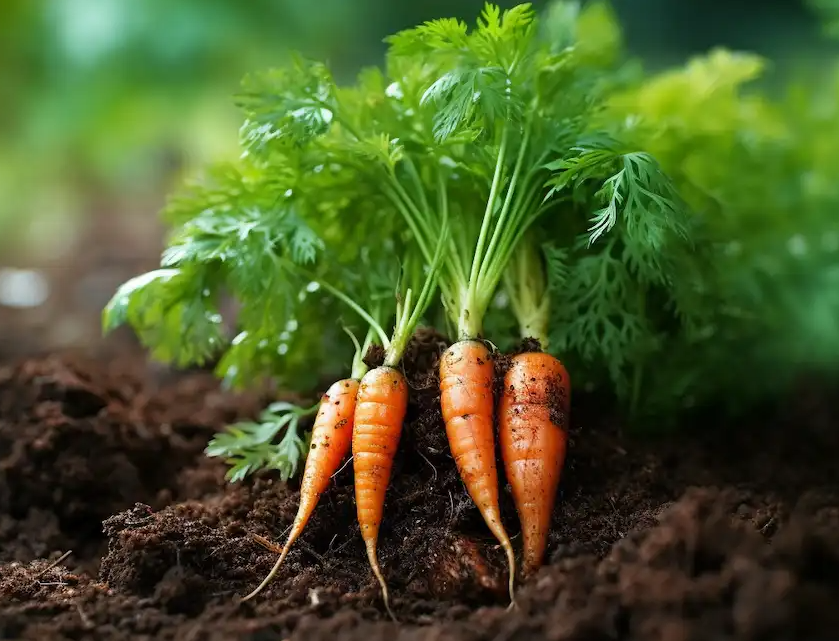
Growing your own carrots at home is not only rewarding but surprisingly simple. Even if you don’t have a sprawling garden, a single carrot can be your starting point for cultivating this versatile and delicious vegetable. Carrots thrive in containers, making them ideal for small spaces or urban gardeners. Follow this step-by-step guide to transform a single carrot into a flourishing crop.

Materials You’ll Need
- Container: Opt for a deep container, at least 12 inches deep, to give the carrot roots ample room to grow. Ensure it has drainage holes to prevent waterlogging.
- Potting Mix: Use a light, well-draining potting mix that allows the roots to develop straight and healthy.
- Carrot Seeds or Tops: You can source seeds from a single carrot or use carrot tops to regrow new plants. Choose organic or heirloom varieties for the best results.
- Watering Can: A gentle spray nozzle will help avoid disturbing the soil.
- Sunlight: Carrots need at least 6-8 hours of sunlight daily. If sunlight is limited, supplement with a grow light.
Step-by-Step Instructions

1. Select the Perfect Container
Choose a container that’s at least 12 inches deep with adequate drainage holes to avoid water accumulation. Carrots require depth for their taproots to grow properly.
2. Prepare the Soil
Fill the container with well-aerated, loose potting mix, leaving about an inch of space at the top. The soil should be crumbly to help carrots grow straight without deformities.
3. Source Carrot Seeds or Tops
If using a single carrot, cut off the green tops, leaving about an inch of the orange crown attached. This portion will sprout new carrot plants.
4. Plant Your Carrot Tops
Gently place the carrot tops into the soil with the cut side facing down. Bury them about 1/2 inch deep, spacing them at least 2 inches apart to allow enough room for growth.
5. Water Regularly
Moisture is crucial for healthy carrot growth. Water the soil consistently, ensuring it stays moist but not soggy.
6. Provide Ample Sunlight
Position the container in a spot that receives at least 6-8 hours of sunlight daily. If growing indoors, place it under a grow light for optimal results.
7. Thin the Seedlings
Once the carrot seedlings sprout, thin them out to prevent overcrowding. Leave about 2-3 inches of space between plants for proper development.
8. Monitor and Maintain
Keep an eye out for pests like aphids or carrot rust flies. Use organic solutions to control infestations. Add mulch around the plants to retain moisture and reduce weeds.
9. Harvest Your Carrots
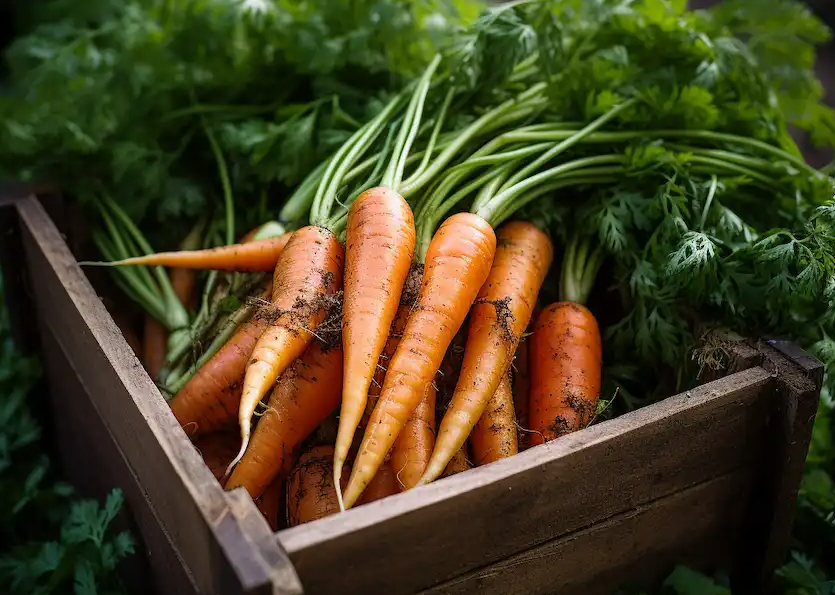
Depending on the variety, carrots are ready to harvest in 60-80 days. Look for a deep orange color and a diameter of 1/2 to 1 inch. Gently loosen the soil and pull out the carrots carefully to avoid breaking them.
Tips for Success

- Choose the Right Variety: Smaller carrot varieties, such as Nantes or Chantenay, are better suited for container gardening.
- Consistent Watering: Uneven watering can lead to split or deformed carrots, so aim for a regular watering schedule.
- Fertilize Sparingly: Use a balanced fertilizer sparingly to avoid excessive foliage growth at the expense of root development.
Growing carrots in containers is a simple and rewarding gardening project, even for beginners. By starting with just one carrot, you can create a thriving vegetable garden in no time. With a little care and patience, you’ll soon enjoy fresh, flavorful carrots right from your own home. Whether you’re gardening to save space or simply experimenting, this method is a wonderful way to grow delicious, chemical-free produce.
Inspired by this? Share the joy of homegrown carrots with your friends!


