Growing peanuts at home from store-bought nuts is a simple and rewarding gardening project. With the right preparation and care, you can cultivate these tasty legumes and enjoy fresh, homegrown peanuts. Here’s a step-by-step guide to get started:
Step 1: Selecting the Right Peanuts
To begin, choose fresh, raw peanuts that are still in their shells. Avoid roasted or salted peanuts, as these won’t germinate. Look for raw peanuts labeled as suitable for planting or those purchased from a trusted source.
Step 2: Preparing and Planting
Peanuts require a long growing season, typically 100-130 frost-free days. If you live in a cooler climate, start the planting process indoors 5-8 weeks before the last frost date. Prepare a well-draining, loose soil mix, enriched with sand and aged compost for better aeration. Sow peanut seeds 1-2 inches deep, spacing them 24-36 inches apart in rows that are at least 72 inches apart. This spacing allows the plants to spread and develop properly.
Step 3: Choosing the Right Location
Peanuts thrive in full sunlight, so select a sunny area in your garden. Protect young seedlings from potential frost damage by using row covers during early spring. Ensure the soil is light, loamy, and slightly acidic with a pH range of 5.5-7.0 for optimal growth.
Step 4: Watering and Mulching
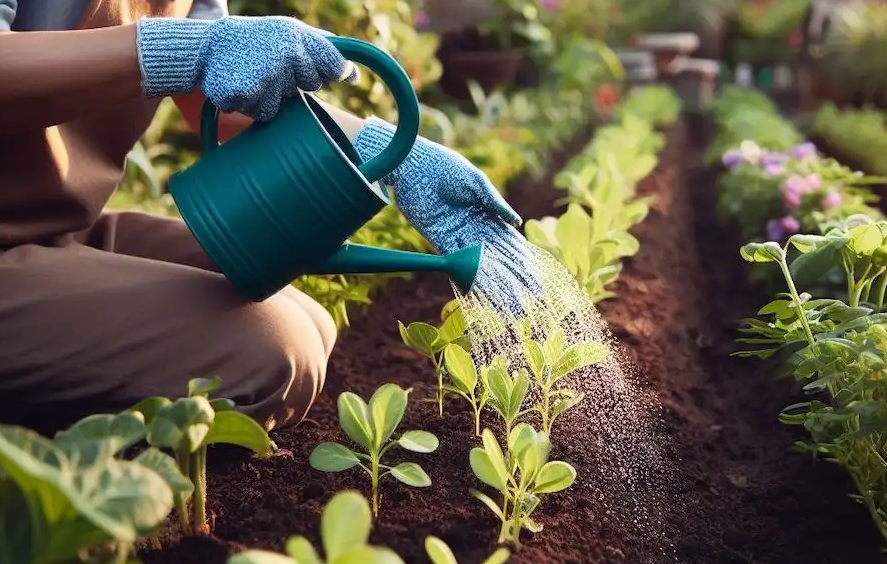
Provide your peanut plants with consistent moisture by watering at least 1 inch per week. Avoid waterlogging, as it can lead to root rot. Once the seedlings reach about 6 inches in height, apply mulch around the base of the plants. Mulch helps retain soil moisture, suppress weeds, and maintain consistent soil temperatures.
Step 5: Fertilization
Peanuts are nitrogen-fixing plants, meaning they draw nitrogen from the air and enrich the soil. As a result, they require little to no additional nitrogen. Instead, focus on calcium, which is crucial for developing healthy peanut pods. Before planting, mix in a balanced or low-nitrogen fertilizer to give the plants a strong start.
Step 6: Pruning and Propagation
Pruning is not usually necessary for peanuts but can be done to maintain plant health. Propagate peanuts using seeds from mature plants. Save the healthiest and most robust peanuts to plant during the next growing season.
Step 7: Harvesting and Storing
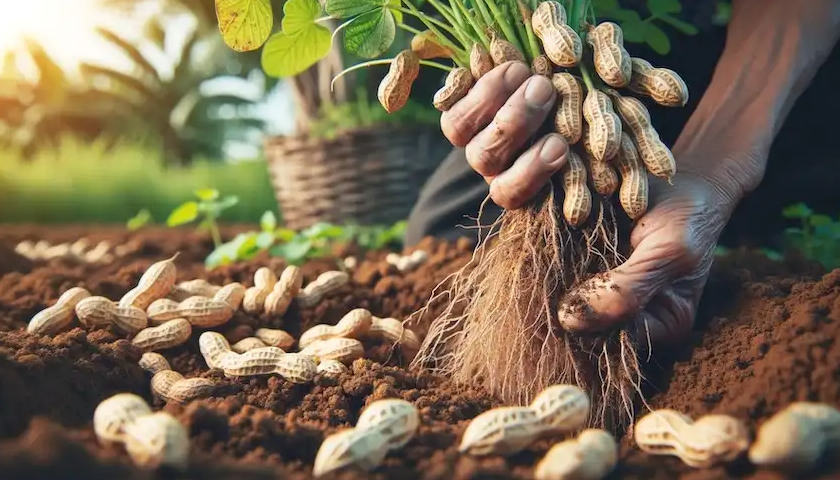
Peanuts are typically ready to harvest 100-150 days after planting. When the plant leaves turn yellow, it’s a sign that the peanuts are mature. Gently lift the entire plant out of the soil to harvest the pods. After harvesting, allow the peanuts to dry thoroughly in a warm, well-ventilated area. For storage, keep raw peanuts in a mesh bag in a cool, dry place. If you prefer, roast them for a delicious snack.
Why Grow Peanuts?
Growing peanuts at home is a fun, educational, and fruitful endeavor. Not only do they thrive in sunny spots, but they also improve soil health by fixing nitrogen. With a little patience and the right care, you’ll soon enjoy the satisfaction of harvesting your very own peanuts.
So why wait? Start your peanut-growing journey today and share the experience with friends and family. Happy gardening!
