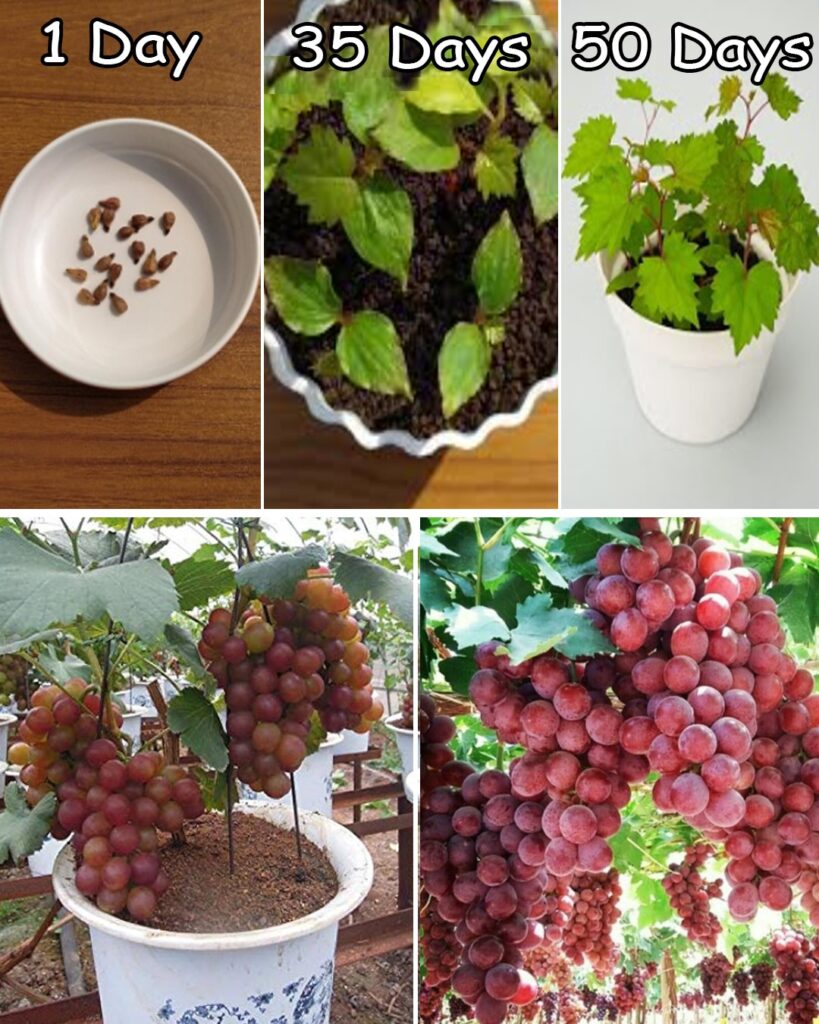
Growing grapes from seeds in containers is a fulfilling gardening project that brings the joy of cultivating your own fruit right to your home. While it’s a process that requires patience and dedication, the result—a thriving grapevine yielding delicious grapes—is worth the wait. This guide will walk you through each step, from preparing the seeds to nurturing your vines to maturity.

Materials You’ll Need
- Grape seeds (from a variety you enjoy)
- Large containers or pots (at least 12 inches deep)
- Well-draining potting soil
- Trellis or a support structure
- Watering can
- Fertilizer (optional)
Step 1: Preparing the Seeds
Start by collecting seeds from ripe grapes of your preferred variety. Remove them from the pulp and rinse thoroughly. To improve germination, scarify the seeds by gently nicking or sanding the outer coat. This process allows water to penetrate the seed more easily. After scarification, soak the seeds in water overnight to break dormancy and prepare them for planting.

Step 2: Choosing the Right Containers
Select large, deep containers with good drainage to accommodate the grapevines’ extensive root systems. Pots that are at least 12 inches deep and wide are ideal. Ensure the containers have drainage holes to prevent waterlogging.
Step 3: Planting the Seeds
Fill the containers with well-draining potting soil, enriched with organic matter if possible. Plant the prepared seeds about 1 inch deep in the soil, covering them lightly. Place the containers in a warm spot, as grape seeds require warmth for germination. Using a heating mat can help maintain a consistent temperature of 60-80°F (15-27°C).
Step 4: Caring for the Seeds
Keep the soil moist but not soggy during the germination process. Grapes thrive in sunlight, so ensure the containers receive at least 6-8 hours of direct sunlight daily. Monitor the soil regularly and adjust watering to prevent over-saturation or drying out.
Step 5: Encouraging Healthy Seedlings
Once the seedlings emerge, thin them out by removing weaker sprouts, leaving only the healthiest ones. When the seedlings grow a few inches tall and develop several leaves, transfer them to larger containers to provide ample room for root expansion.

Step 6: Supporting Growth with a Trellis
As your grapevines grow, install a sturdy trellis or support system to guide their climbing growth. Training the vines early ensures they develop properly and reduces tangling or overcrowding.
Step 7: Patience and Maintenance
Grape plants grown from seeds take time to mature, often 2-3 years or longer before they start producing fruit. In the meantime, provide regular care by watering consistently, applying a balanced fertilizer if needed, and pruning to encourage healthy growth.

Tips for Success
- Opt for Established Vines for Faster Results: If you’re eager for a quicker harvest, consider purchasing established grapevines from a nursery.
- Prune Regularly: Proper pruning promotes better airflow and sunlight exposure, which are critical for fruit production.
- Monitor Pests and Diseases: Keep an eye out for common grape pests like aphids or fungal diseases, and address issues promptly using organic or chemical solutions.
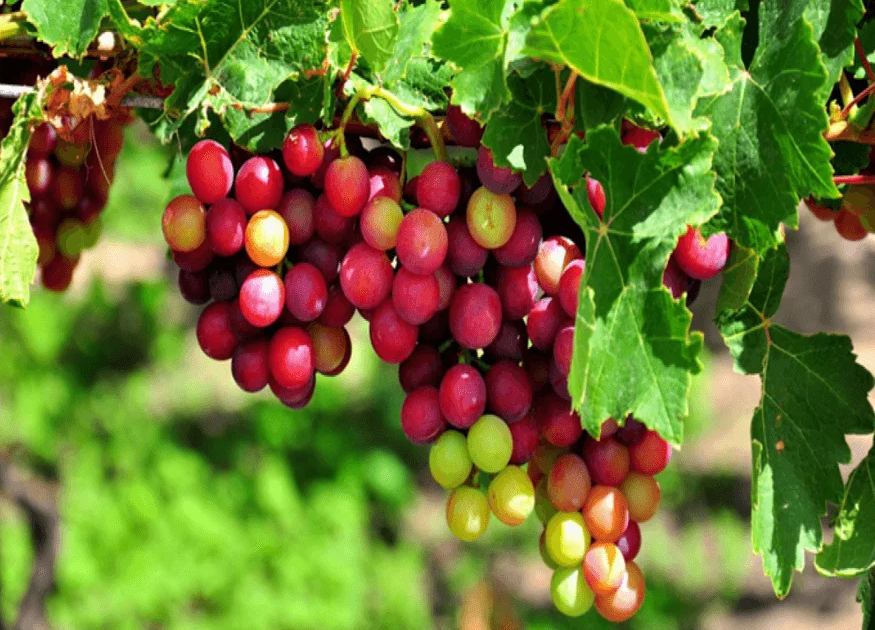
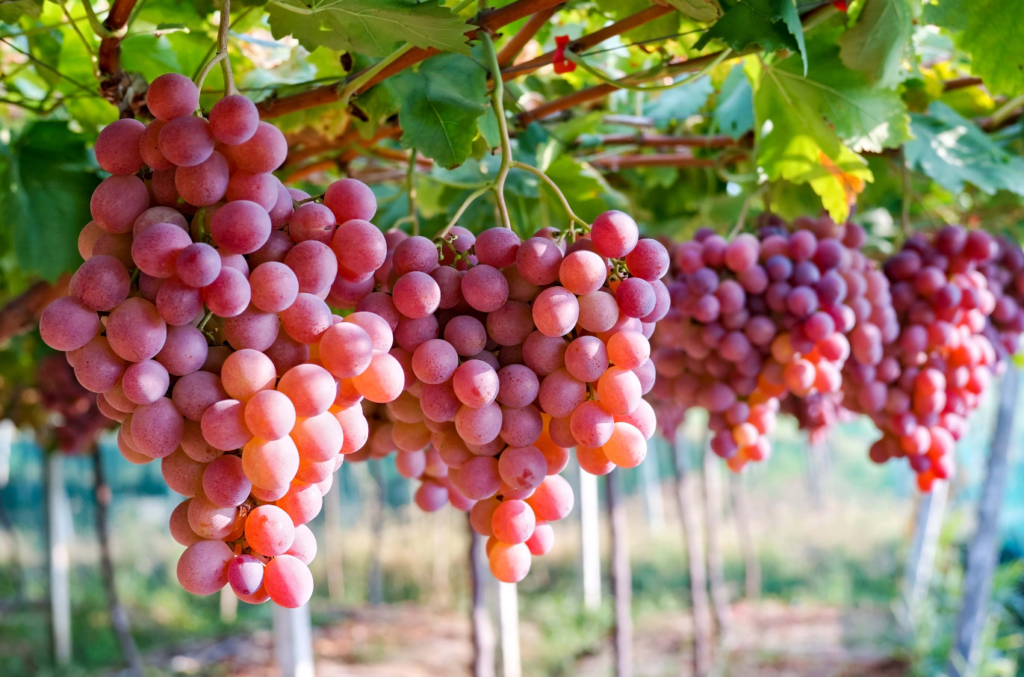
Growing grapes from seeds in containers is not only a testament to your gardening skills but also a rewarding way to enjoy fresh, homegrown fruit. While the process takes time and care, the satisfaction of harvesting your own grapes makes the journey worthwhile. Start today, and look forward to the delicious fruits of your labor in the future!


