Keeping your vegetables adequately watered can sometimes feel like a challenge, especially when trying to avoid overwatering or wetting the foliage unnecessarily. Proper hydration is key for thriving plants, and an automatic watering system made from a simple plastic bottle is an easy, eco-friendly solution. With just a few materials and a little creativity, you can ensure your vegetables stay perfectly hydrated, even when you’re away.
Why an Automatic Bottle Waterer?
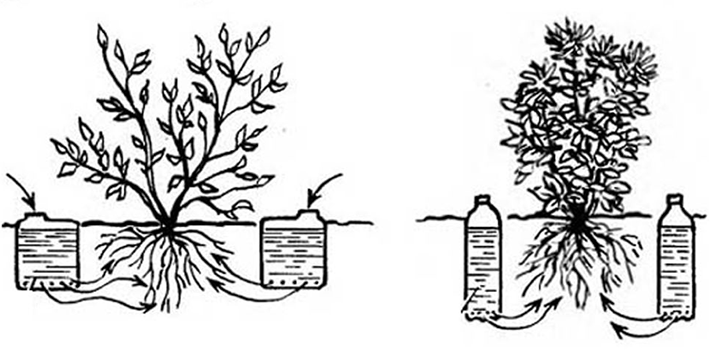
This method delivers water directly to the roots, ensuring efficient hydration without wasting water. It reduces the risk of fungal diseases caused by wet leaves and makes your garden low-maintenance. Plus, it’s an excellent way to recycle plastic bottles while keeping your garden green.
How to Create an Automatic Vegetable Waterer
1. Choose Your Bottle:
Repurpose an old plastic water bottle or soda bottle. Ensure it’s clean and free from residue to avoid contaminating your soil.
2. Make Holes for Slow Drip:
Using a sharp knife or a heated needle, carefully puncture small holes around the sides of the bottle. These holes will allow water to seep out gradually. Aim for 4-8 holes, depending on the size of the bottle and the watering needs of your plants.
3. Bury the Bottle:
Dig a small hole near the base of your vegetable plant and partially bury the bottle. Leave the neck of the bottle sticking out above the soil for easy refilling.
4. Fill with Water:
Once the bottle is securely buried, fill it with water. The water will slowly drip through the holes, keeping the surrounding soil consistently moist.
5. Monitor and Refill:
Check the water levels in the bottle every few days and refill as needed. During hot weather, you may need to refill more frequently.
Tips for Success
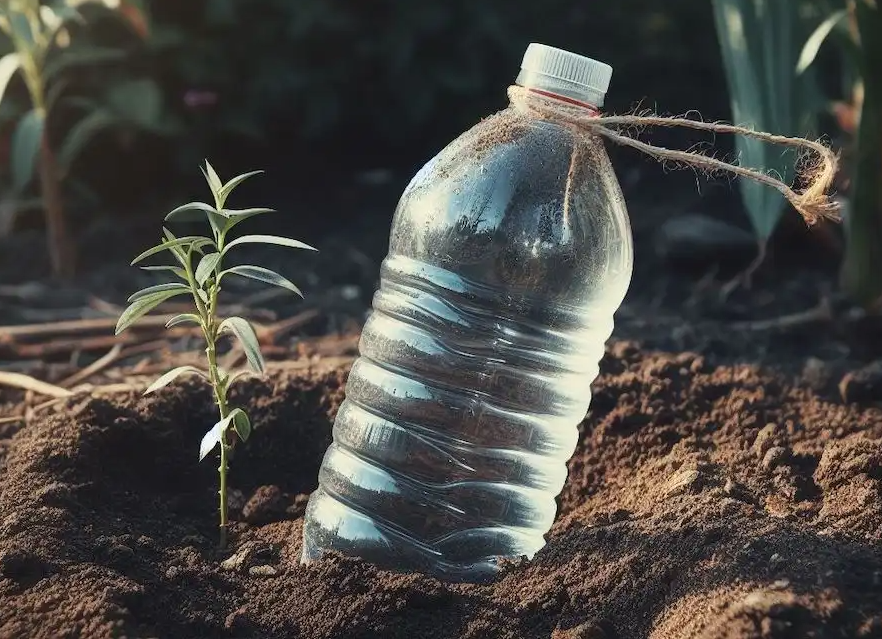
- Install During Planting: Place the bottle into the soil at the same time you plant your vegetables to avoid disturbing the roots later.
- Use a Terracotta Alternative: For an even more eco-friendly option, consider a terracotta pot. Its porous surface naturally releases water into the soil without needing drilled holes.
- Customize for Different Plants: Adjust the number and size of the holes based on the water needs of your vegetables. Plants like tomatoes and cucumbers may require more water, while herbs need less.
- Test Before Use: Before burying the bottle, test its drip rate to ensure water flows at a steady pace without flooding the soil.
Benefits of the Bottle Watering System
- Consistent Hydration: Delivers water right where it’s needed—at the roots—helping plants absorb moisture efficiently.
- Water Conservation: Prevents wastage by targeting the root zone directly, rather than spreading water across the entire surface.
- Low Maintenance: Perfect for busy gardeners or those who travel frequently.
- Reduced Risk of Disease: Keeps foliage dry, lowering the chances of fungal infections and diseases caused by wet leaves.
Why It Works for Vegetable Gardens
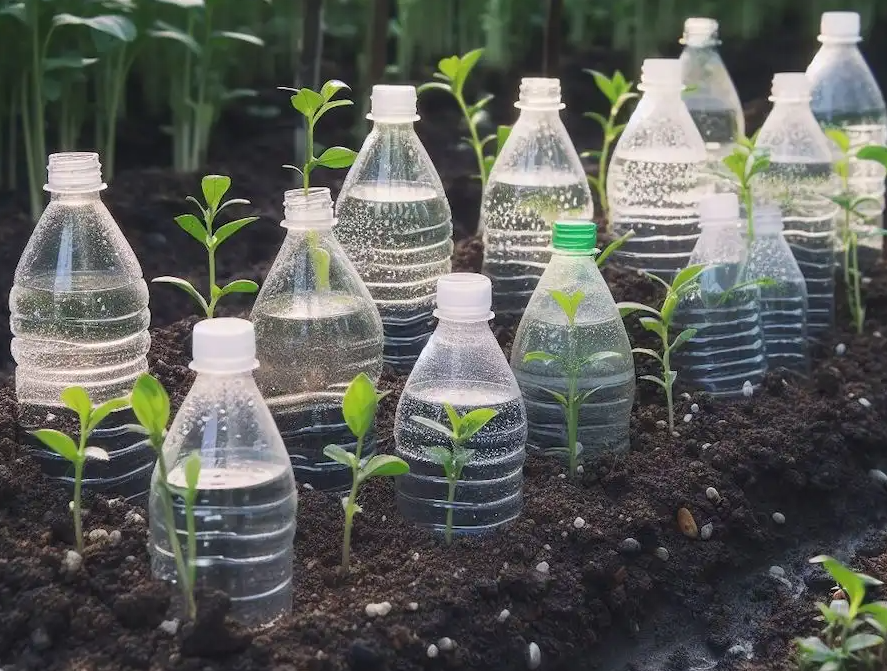
Vegetables, especially during their growth and fruiting stages, thrive with consistent soil moisture. This DIY waterer ensures they receive a steady supply without the risks of underwatering or waterlogged roots. The slow-drip method also promotes healthier soil and reduces evaporation, particularly in hotter climates.
Conclusion
Gardening doesn’t have to be complicated or resource-intensive. With this clever bottle waterer, you can keep your vegetable garden flourishing with minimal effort. Whether you’re a seasoned gardener or just starting out, this simple solution can help you grow healthier, happier plants. Try it out today and see the difference it makes in your garden!
Have you tried this method? Share your experiences, tweaks, and gardening hacks in the comments below. Let’s grow together!

