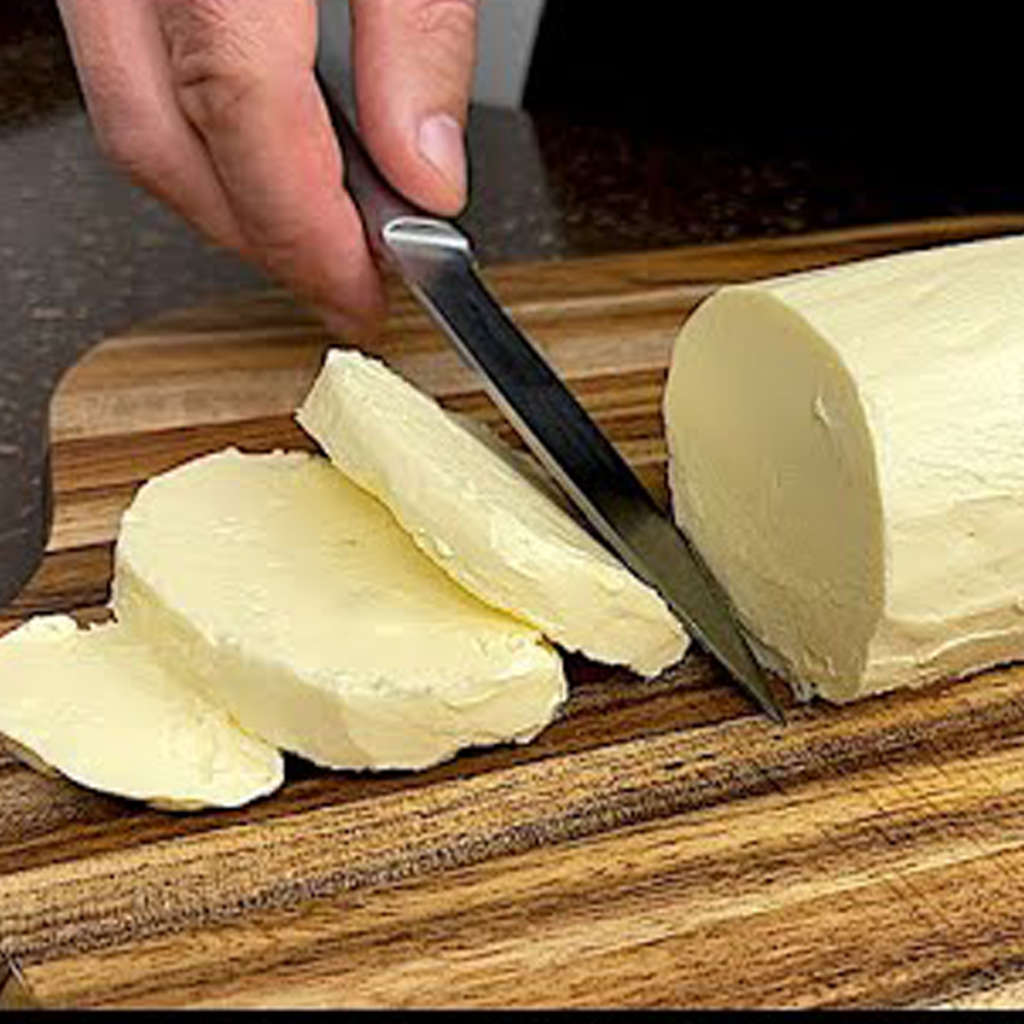
Butter is a staple ingredient in kitchens around the world, beloved for its rich flavor and versatility. While store-bought butter is convenient, making your own butter at home can be a rewarding and cost-effective endeavor. Not only do you get to control the ingredients and flavors, but you can also experiment with different variations like herb-infused butter and ghee (clarified butter). In this guide, we’ll walk you through the process of making butter from cream, highlight a few creative flavoring options, and even show you how to prepare ghee, a fragrant and healthy alternative to regular butter.

Ingredients for Homemade Butter
To make homemade butter, the only ingredient you really need is heavy cream. Look for cream that has a fat content between 33-35% for the best results. You’ll also need some ice water to rinse the buttermilk out of the butter once it has formed.
Here’s a quick rundown of the ingredients:
- 1.5 liters (7.5 cups) of cream with 33-35% fat (adjust based on how much butter you want to make)
- Ice water (for washing the butter)
- Optional ingredients for flavored butter (herbs, garlic, lemon, etc.)
Step-by-Step Process to Make Butter
1. Whip the Cream
The first step in making butter is whipping the cream. Start by pouring the cream into a bowl or stand mixer. Use a hand mixer or a stand mixer to beat the cream at medium speed for about 5-7 minutes. At first, the cream will turn into whipped cream, but as you continue beating, it will begin to separate into butter and buttermilk.
2. Separate the Butter and Buttermilk
After the cream has been whipped, you’ll see the butter starting to form. The buttermilk (the liquid) will separate from the butter. This is the point where you need to separate the two. Strain off the buttermilk and save it for other uses like baking or making pancakes.
3. Wash the Butter
To make sure there’s no buttermilk left in the butter (which can make it spoil faster), you’ll need to wash the butter. The easiest way to do this is by using ice water. Pour some ice water over the butter, then knead it with your hands or a spatula to rinse out the remaining buttermilk. You can repeat this process 2-3 times until the water runs clear.
4. Form and Store the Butter
Once your butter is washed and free of any buttermilk, it’s time to shape it. You can form it into a block or store it in a jar. For the best freshness, wrap the butter in parchment paper and store it in the refrigerator for up to a week or in the freezer for longer storage.
For more convenient storage, you can also use a butter dish with a lid to keep it in the fridge.
Flavoring Your Butter
Homemade butter is delicious on its own, but you can easily enhance its flavor by adding herbs, garlic, spices, or even citrus. Here are a few popular flavoring ideas:
1. Herb-Infused Butter
Herb-infused butter is perfect for spreading on bread, drizzling over vegetables, or using in cooking. Some popular herb combinations include thyme, dill, rosemary, and chives. Simply chop the herbs finely and mix them into your homemade butter. You can also add garlic, lemon juice, and a pinch of salt for extra flavor.
2. Garlic and Parsley Butter
A classic, garlic and parsley butter is great for bread or roasted vegetables. To make this, add finely minced garlic, fresh parsley, and a squeeze of lemon juice to your butter. Mix everything thoroughly and store it in the fridge to allow the flavors to meld together.
3. Tomato Paste and Fish Paste Butter
For something a little more unique, you can mix tomato paste and fish paste (like anchovy or shrimp paste) with your butter. Add some fresh herbs like thyme, and a dash of lemon juice for brightness. This variation works wonderfully for spreading on crackers or as a topping for roasted meats.
4. Lemon and Garlic Butter
Lemon and garlic butter is a versatile spread that pairs perfectly with seafood, pasta, or steamed vegetables. Just add lemon zest, minced garlic, and a touch of salt to your butter for a zesty, savory treat.
These flavored butters should be stored in the refrigerator for 3-4 hours to allow the flavors to infuse properly.
How to Make Ghee (Clarified Butter)
Ghee, or clarified butter, is a staple in many cuisines, especially in Indian cooking. It’s made by slowly heating butter to remove the water content and milk solids, resulting in a rich, golden oil that’s perfect for cooking or frying. Ghee is also lactose-free, making it an excellent option for those with dairy sensitivities.
1. Melt the Butter
Start by melting store-bought butter with at least 82.5% fat over low heat. You can use a pan or saucepan. Allow it to melt completely without stirring.
2. Simmer and Skim
Once the butter has melted, it will begin to separate into three layers: a foam on top, a clear golden liquid in the middle (this is the ghee), and solids at the bottom. Skim off the foam and continue to simmer the butter for about 30 minutes on low heat.
3. Strain the Ghee
After the butter has simmered and the milk solids have browned at the bottom, strain the ghee through a fine mesh strainer or cheesecloth into a clean container, leaving the solids behind. This is your finished ghee.
4. Storage
Ghee can be stored in an airtight container at room temperature for several months, or in the refrigerator for longer shelf life. It’s great for frying, sautéing, and even as a base for cooking.
Benefits of Homemade Butter and Ghee
Making butter and ghee at home has several benefits over buying store-bought versions:
- Control over Ingredients: You know exactly what’s in your butter, with no additives or preservatives.
- Customization: You can experiment with different flavorings to make your butter truly unique.
- Healthier Option: Ghee, in particular, is known for its high smoke point, making it a better option for frying or sautéing compared to regular butter.
- Cost-Effective: Making butter at home can save you money in the long run, especially if you have access to fresh, high-quality cream.
Conclusion
Making butter at home is a fun, easy process that can elevate your cooking and add a personal touch to your meals. Whether you’re making plain butter, flavored variations, or even ghee, the options are endless. So, grab some heavy cream, fire up your mixer, and start enjoying the freshest butter you’ve ever tasted!


