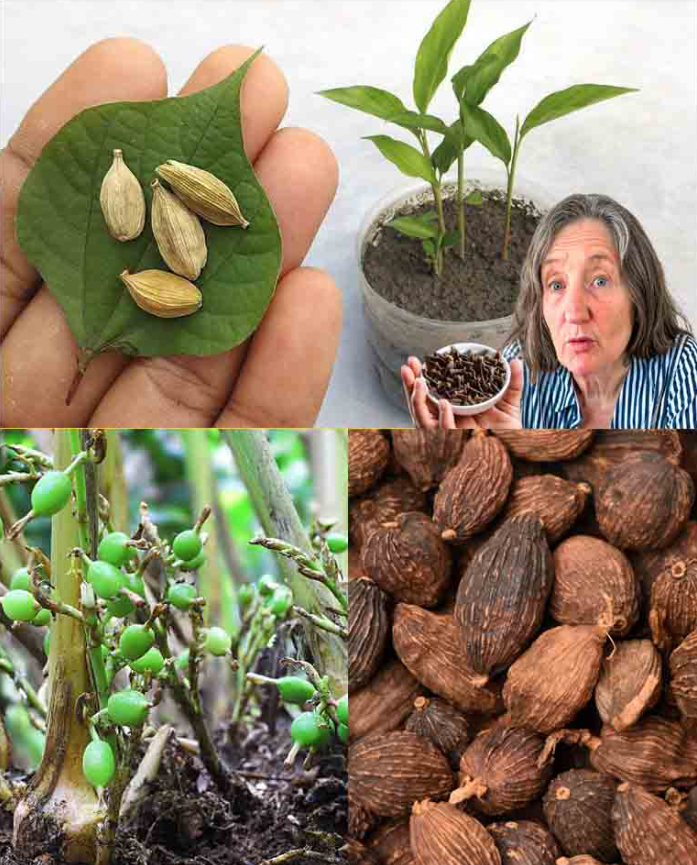
Cardamom, known as the “Queen of Spices,” is a prized ingredient in global cuisine, loved for its warm, aromatic, and slightly sweet flavor. Instead of buying dried cardamom pods, you can grow your own cardamom plant at home, even in a small space.
This step-by-step guide will show you how to successfully grow cardamom from seeds in a pot, ensuring a fresh and continuous supply of this exotic spice.
Why Grow Cardamom at Home?
✔ Fresh and Organic – Homegrown cardamom is free from chemicals and additives.
✔ Cost-Effective – Store-bought cardamom is expensive, but growing your own saves money.
✔ Beautiful and Fragrant – A lush green plant that enhances both indoor and outdoor spaces.
✔ Satisfying and Rewarding – Experience the joy of harvesting your own spices.
What You Need to Grow Cardamom in a Pot
Before you start, gather the following essential supplies:
✔ Cardamom Seeds – Buy from a reliable supplier or extract from fresh cardamom pods.
✔ A Large Pot – At least 12 inches in diameter with good drainage holes.
✔ Potting Soil – Use a well-draining, nutrient-rich mix with a neutral pH.
✔ Warm and Humid Environment – Cardamom thrives in temperatures between 21 to 27 degrees Celsius.
✔ Indirect Sunlight – Prefers bright, filtered light rather than direct sun.
✔ Plastic Wrap or Mini Greenhouse Cover – Helps maintain humidity for seed germination.
✔ Watering Can and Humidifier (Optional) – To keep the soil moist but not soggy.
Step 1: Germinating Cardamom Seeds
- Prepare the Seeds
- If using cardamom pods, crack them open to remove the seeds.
- Soak the seeds in warm water for 24 hours to soften the outer shell and speed up germination.
- Prepare the Pot and Soil
- Fill the pot with well-draining potting mix, leaving about an inch of space at the top.
- Ensure the pot has drainage holes to prevent root rot.
- Plant the Seeds
- Plant the soaked seeds half an inch deep, spacing them 2 to 3 inches apart.
- Gently cover the seeds with soil but do not compact it too tightly.
- Water and Cover
- Water the pot thoroughly to keep the soil moist but not waterlogged.
- Cover the pot with plastic wrap or a lid to create a greenhouse effect and maintain humidity.
- Maintain Warmth
- Place the pot in a warm and humid location, ideally between 21 to 27 degrees Celsius.
- If necessary, use a heating mat to keep a consistent temperature.
- Be Patient
- Cardamom seeds take several weeks to germinate, sometimes up to 40 days.
- Keep the soil consistently moist but avoid overwatering.
Step 2: Caring for Your Cardamom Plant
Once your seedlings emerge, follow these essential care tips:
- Provide Indirect Sunlight
- Place the pot in a bright area with filtered sunlight.
- If growing outdoors, keep the plant in a shaded or semi-shaded spot.
- Maintain Humidity and Moisture
- Keep humidity levels above 50% by:
✔ Using a humidifier
✔ Placing a tray of water near the plant
✔ Misting the leaves occasionally - Water regularly to keep the soil moist but not soggy.
- Keep humidity levels above 50% by:
- Fertilize Sparingly
- Use a diluted liquid fertilizer every 2 to 3 months during the growing season (spring and summer).
- Avoid over-fertilizing, as cardamom prefers moderate feeding.
- Repot as Needed
- As the plant grows, transfer it to a larger container to support healthy root development.
- Choose a deep pot for the best results.
Step 3: Pruning and Harvesting Cardamom Pods
- Pruning for Bushy Growth
- Trim damaged or dead leaves to encourage new growth.
- Pinch off excess shoots to maintain plant health.
- When to Harvest Cardamom Pods
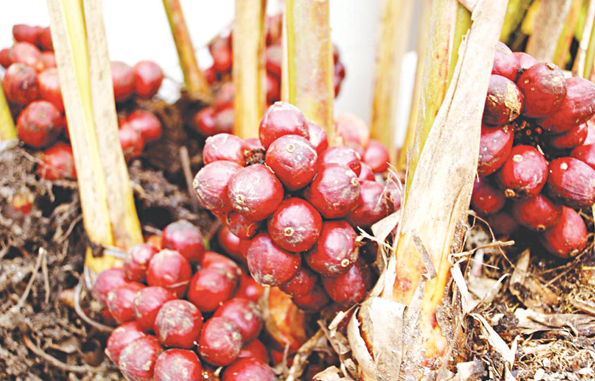
- Cardamom plants take 2 to 3 years to mature and produce pods.
- Once mature, the plant will bloom and form green seed pods.
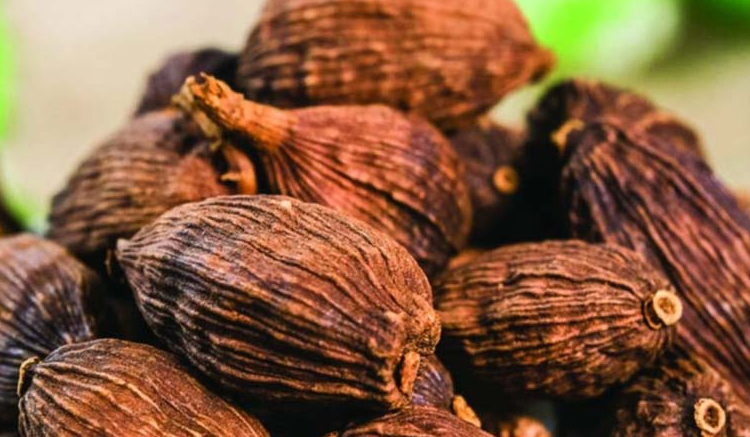
- Harvest the pods when they turn slightly yellow but before they fully dry out.
- Dry the pods in a cool, dark place and store them in an airtight container.
Common Problems and Solutions
✔ Problem: Seeds not germinating
Solution: Ensure warm temperatures (21-27°C) and consistent moisture.
✔ Problem: Yellowing leaves
Solution: Avoid overwatering and improve soil drainage.
✔ Problem: Slow growth
Solution: Increase humidity, provide indirect sunlight, and fertilize occasionally.
✔ Problem: Root rot
Solution: Use well-draining soil and ensure the pot has proper drainage.
Final Thoughts: Is Growing Cardamom Worth It?
Growing your own cardamom plant is a rewarding experience, though it requires patience and proper conditions. Whether you love gardening or cooking, cardamom is an excellent addition to your home.
Why You Should Grow Cardamom at Home:
✔ Organic and Fresh – No chemicals, just pure cardamom goodness.
✔ Cost-Effective – Save money by growing your own spice.
✔ Aromatic and Beautiful – A tropical plant that enhances your home or garden.
✔ Great for Culinary Uses – Use fresh pods in teas, curries, and desserts.
If you have the space, time, and patience, growing cardamom from seeds can be a fun and fulfilling project. So why not start your own cardamom plant today and enjoy the flavorful rewards of homegrown spices?
Would you try growing cardamom at home? Let us know in the comments! 🌱✨