Are you eager to grow your own lemon trees but looking for an easy, unique way to do so? You’re in the right place! In this guide, we’ll introduce a simple yet effective technique to propagate lemon trees from cuttings using a 2-liter plastic bottle. This method eliminates the complexity often associated with gardening, offering a straightforward approach to growing your own fruitful lemon tree.
Materials You’ll Need:
- A 2-liter plastic bottle
- Sand or a well-draining potting mix
- Lemon tree cuttings (6-8 inches long)
- Rooting hormone (optional)
- A sharp knife or scissors
- Rubber bands or twine
- A misting or spray bottle
Step-by-Step Process:
1. Prepare Your Cuttings:
Start by selecting fresh, healthy lemon tree cuttings. Aim for pieces that are about 6-8 inches long and include nodes where roots are likely to develop. If you wish to accelerate rooting, apply some rooting hormone to the base of each cutting.
2. Create Ventilation Openings:
Take your 2-liter plastic bottle and carefully cut “+” shaped openings on each side. Make sure these openings are wide enough to hold the cuttings securely, preventing them from falling out.
3. Insert the Cuttings:
Gently place the prepared cuttings into the openings you’ve created, ensuring they are stable and upright within the bottle. This will help prevent them from shifting around as they start to root.
4. Seal and Maintain the Greenhouse Effect:
Cover the top of the bottle with plastic wrap or a plastic bag. Secure it tightly with rubber bands or twine to create a humid environment that mimics a greenhouse. This will help maintain the necessary moisture around the cuttings. Place the bottle in an area with bright, indirect sunlight to encourage healthy growth.
5. Keep it Moist:
It’s important to regularly mist the interior of the bottle to keep the cuttings hydrated. Use a spray bottle to keep the environment moist without over-wetting the soil. This creates the ideal conditions for rooting.
6. Monitor the Progress:
Over time, keep an eye on the cuttings. You can gently tug on them to check for any resistance, which is a sign that roots have begun to develop.
7. Transplanting:
Once your cuttings have formed strong, healthy roots, it’s time to transplant them into individual pots or directly into the garden. With proper care, they’ll grow into robust, fruitful lemon trees.
By following this easy and unique technique, you’ll be able to propagate lemon trees with minimal effort and maximum results. It may take a few weeks for noticeable growth, but the rewards are certainly worth the wait. Happy gardening!
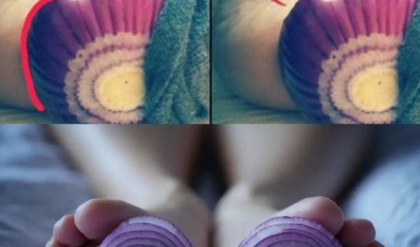
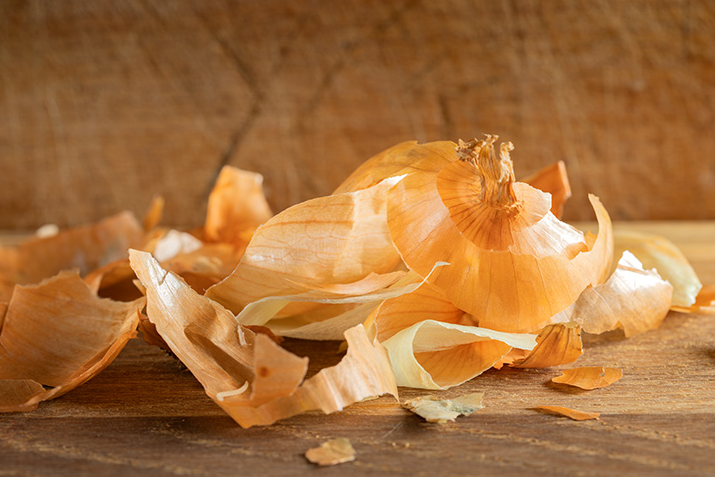
15 Surprising Uses for Onion Skins You Wish You Knew Sooner
We’ve all tossed onion skins into the trash or compost without giving them a second thought. But did you know that these humble outer layers have a wealth of uses that are not only practical but also beneficial for health, home, and garden? Let’s dive into 15 unexpected ways to make the most of your onion skins.
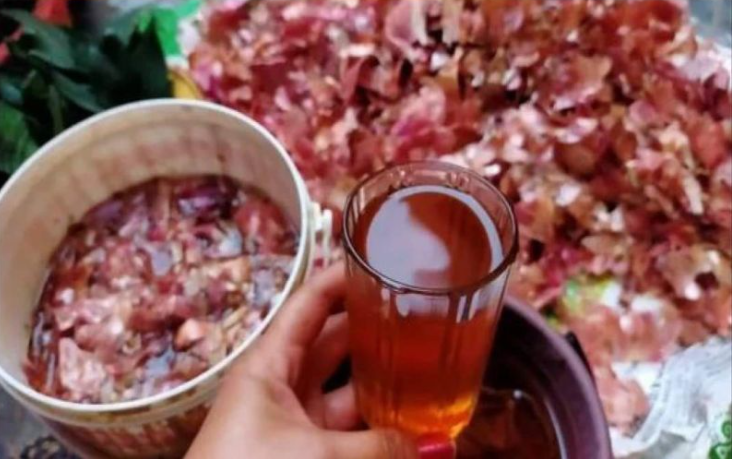
1. Natural Dye:
The brown outer layers of an onion make an excellent natural dye. Boil the skins for 30 minutes, and the resulting liquid can be used to color fabric, Easter eggs, or even paper.
2. Rich Broth:
Don’t throw away those onion skins! Add them to your soup or broth for a rich golden color and a nutrient boost.
3. Compost Boost:
Onion skins are a fantastic addition to your compost pile. They’re packed with potassium and other vital nutrients that enrich your compost mix.
4. Antioxidant Tea:
Believe it or not, boiling onion skins creates an antioxidant-rich tea. The water contains quercetin, which can help protect your body from oxidative stress.
5. Relieve Muscle Cramps:
Thanks to their mineral content, onion skins can be used to ease muscle cramps. Boil them in water and add the strained liquid to your bath for a soothing soak.
6. Fight Off Pests:
Onion skins can act as a natural repellent for garden pests. Place them around plants or in planting holes to deter unwanted visitors.
7. Polish Metal:
Onion skins’ abrasive texture makes them effective for polishing copper, brass, and even glass, leaving a shiny, streak-free surface.
8. Stave off Frost:
If you’re expecting light frost, spread onion skins around your plants. They act as a natural insulator, protecting your plants from the cold.
9. Fire Starter:
Dried onion skins are excellent kindling. They catch fire quickly, making them a handy addition to your camping gear or fireplace.
10. Prevent Leg Cramps:
Drinking onion skin tea before bed can help prevent those annoying nocturnal leg cramps, promoting better sleep.
11. Craft Projects:
Get creative with onion skins in your craft projects. They add a natural touch to collages, paper mache, and other artistic endeavors.
12. Boost Hair Growth:
Onion skins aren’t just for cooking—they’re great for hair care too. Boil them and use the liquid as a hair rinse to nourish your hair and potentially boost growth.
13. Soothe Skin Irritations:
The anti-inflammatory properties of onion skins can help soothe minor skin irritations like bug bites, stings, or rashes. Apply cooled onion skin water directly to the affected area.
14. Preserve Avocados:
If you’ve got leftover avocado, store it with some onion skins. They help keep the fruit from turning brown too quickly.
15. Enhance Plant Growth:
Water your plants with onion skin-infused water. It acts as a natural fertilizer that nourishes your garden and helps plants thrive.
Conclusion:
Next time you peel an onion, think twice before tossing the skins. These often-overlooked layers are a goldmine of uses, from natural remedies to creative projects. By making the most of them, you’ll be reducing waste and finding sustainable, natural solutions to everyday problems. So, share this newfound knowledge and inspire others to do the same!