Cardamom, affectionately known as the “Queen of Spices,” is a fragrant treasure cherished for its culinary and medicinal uses. Native to the lush tropical forests of the Indian subcontinent, cardamom thrives in warm, humid environments. If you’ve ever dreamed of growing your own cardamom, this guide will walk you through the steps, from seed planting to nurturing a thriving green cardamom plant.
Starting with Cardamom Seeds
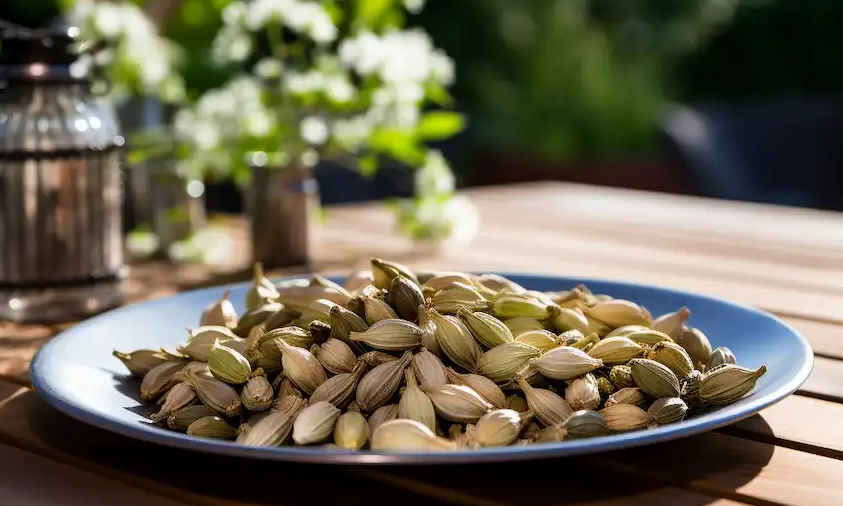
Choose Fresh Seeds: Begin with high-quality, fresh seeds to increase your chances of successful germination. Select seeds that are plump, unblemished, and free from mold.
Pre-Soak the Seeds: Before planting, soak the seeds in room-temperature water for about 12 hours. This softens the seed coat, encouraging faster and more consistent germination.
Planting the Seeds
Prepare Nutrient-Rich Soil: Cardamom thrives in loamy soil that drains well yet retains moisture. Create an ideal mix using compost, sandy soil, and a small amount of perlite or vermiculite to enhance drainage.
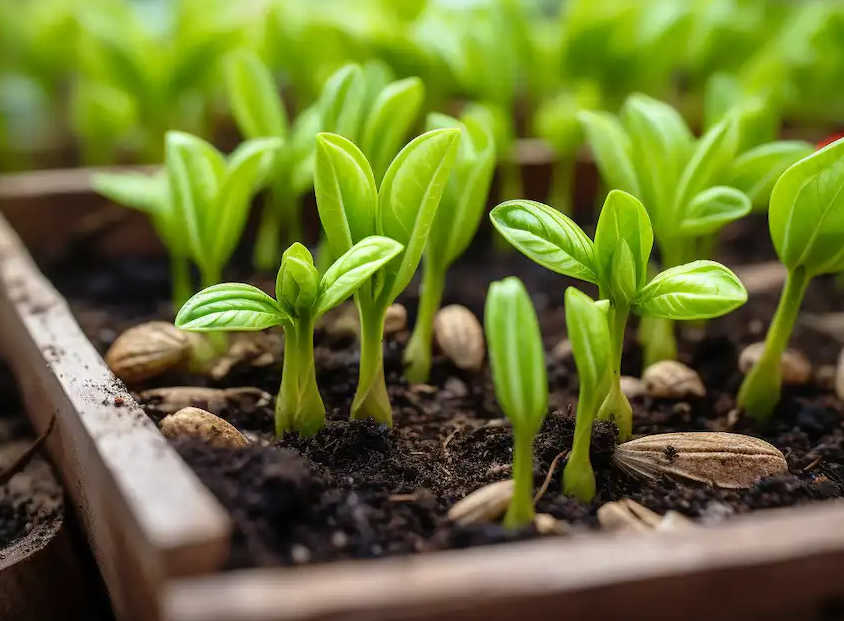
Plant with Care: Sow the seeds about 1 inch deep in the soil, ensuring the pointy end is facing up. Space seeds or seedlings at least 2 feet apart to allow room for the plant’s eventual growth.
Water Gently: After planting, water the soil thoroughly but gently, ensuring even moisture without waterlogging.
Creating Optimal Growing Conditions
Light Requirements: Cardamom naturally grows under forest canopies, making indirect sunlight or partial shade ideal. Avoid direct, scorching sunlight as it can harm the plant.
Temperature Range: Maintain a temperature between 22°C to 32°C (72°F to 90°F). These tropical plants flourish in consistently warm climates.
Humidity and Watering: Cardamom plants love humidity. Keep the soil moist but not soggy, and mist the leaves occasionally in dry conditions to replicate their natural environment.
Fertilization: During the growing season, feed the plants with a balanced liquid fertilizer every three weeks to support vigorous growth and pod production.
Caring for Green Cardamom
Pruning: As the plant matures, remove weak or unhealthy shoots to encourage robust growth and better airflow. This practice also helps the plant conserve energy for healthy pod development.
Pest Management: Watch for common pests like aphids and spider mites. Neem oil or insecticidal soap can effectively keep these pests at bay.
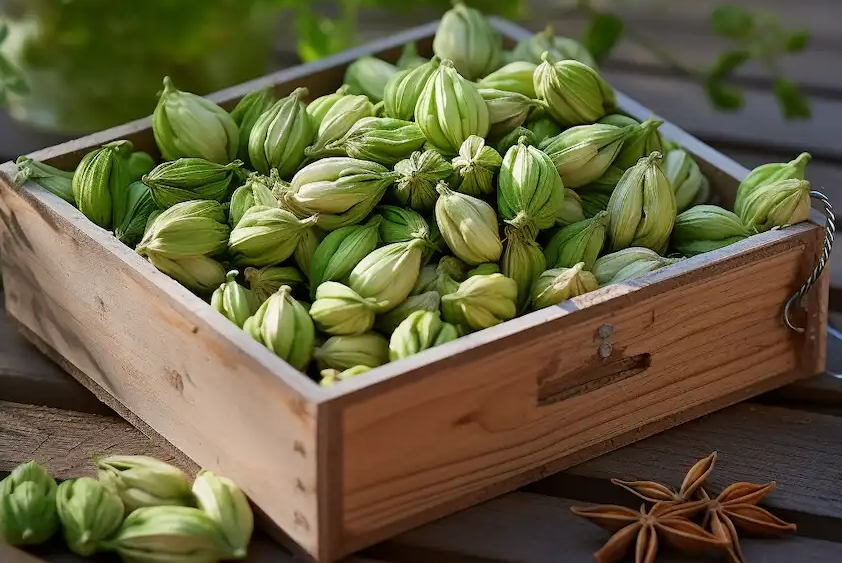
Harvesting Pods: Cardamom pods are ready for harvest when they take on a pale green or yellowish hue. Harvest promptly before the pods split open to preserve their freshness and flavor.
Extra Tips for Success
Repotting: If growing cardamom in containers, monitor the plant’s growth and repot it when roots outgrow the pot. A larger container allows the plant to continue thriving.
Mulching for Moisture: Apply a layer of organic mulch to help retain soil moisture, regulate temperature, and reduce weed growth.
Patience Pays Off: Growing cardamom requires time and dedication. It may take a few years for your plant to flower and produce pods, but the wait is worth it for the fragrant rewards.
The Rewards of Home-Grown Cardamom
Growing cardamom from seed is a labor of love that offers rich rewards. With careful attention and the right conditions, you can enjoy a thriving cardamom plant and savor the unparalleled aroma and flavor of fresh, home-harvested pods. Beyond its culinary allure, the process of cultivating this exotic spice adds a touch of greenery and elegance to your garden.
Inspired to grow your own cardamom? Share this guide with friends and let them join in the joy of cultivating one of nature’s most prized spices!


