Pecans, the nutrient-dense and delicious nuts native to North America, are beloved for their versatility in pies, baked goods, and as healthy snacks. While most commercial pecan orchards rely on grafted trees, growing pecans from seeds is an economical and fulfilling way to cultivate these majestic trees. This guide will walk you through the entire process, from selecting seeds to harvesting pecans, ensuring your success at every stage.
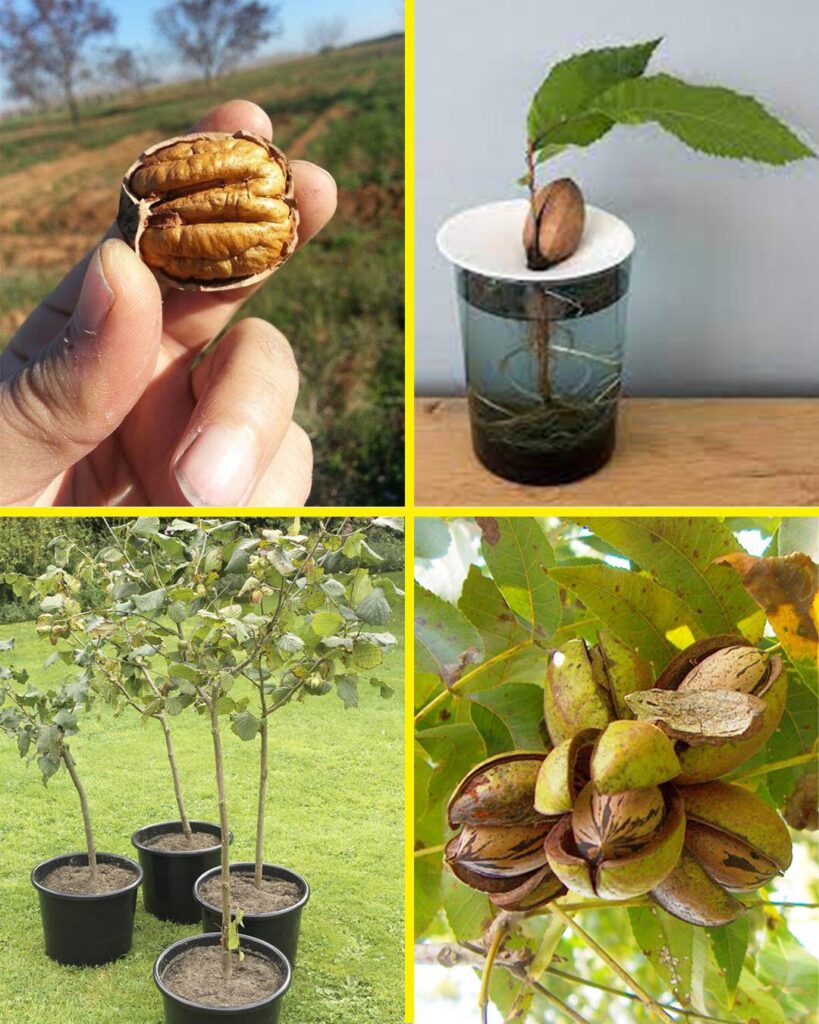
1. Selecting the Right Pecan Seeds
The foundation of successful pecan growth lies in choosing high-quality seeds. Here’s what to keep in mind:
Variety: Opt for pecan varieties suited to your climate, such as Desirable, Elliot, or Pawnee.
Freshness: Always use seeds from the most recent harvest, as older seeds may have reduced viability. Discard any seeds showing mold, rot, or damage.
2. Preparing the Seeds for Planting
Pecan seeds require stratification to mimic winter conditions, which is essential for germination. Follow these steps:
Collect the seeds from freshly fallen pecans in autumn. Remove their husks and let them air dry for several days.
Place the seeds in a plastic bag filled with a moist mixture of peat moss and perlite. Seal the bag and refrigerate it for three to four months. This stratification process replicates the cold period needed to break seed dormancy.
3. Planting Pecan Seeds
After the stratification period, you can plant the seeds in a suitable location.
Select a sunny spot with well-draining soil, as pecan trees thrive in full sunlight.
Prepare the soil by loosening it to a depth of two to three feet and amending it with organic matter for improved drainage. Aim for slightly acidic soil with a pH between 6.0 and 6.5.
Plant the seeds one to two inches deep, spacing them 30 to 40 feet apart to accommodate the mature tree’s size. Cover with mulch to retain moisture and suppress weeds.
4. Caring for Pecan Seedlings
Proper care during the early stages is crucial for healthy growth.
Water the seedlings consistently, keeping the soil moist but not waterlogged. Drought can severely affect young pecan trees.
Apply a balanced, slow-release fertilizer in early spring to support growth. Follow the manufacturer’s instructions carefully.
Regularly remove weeds around the seedlings to reduce competition for nutrients and water.
5. Transplanting Pecan Trees
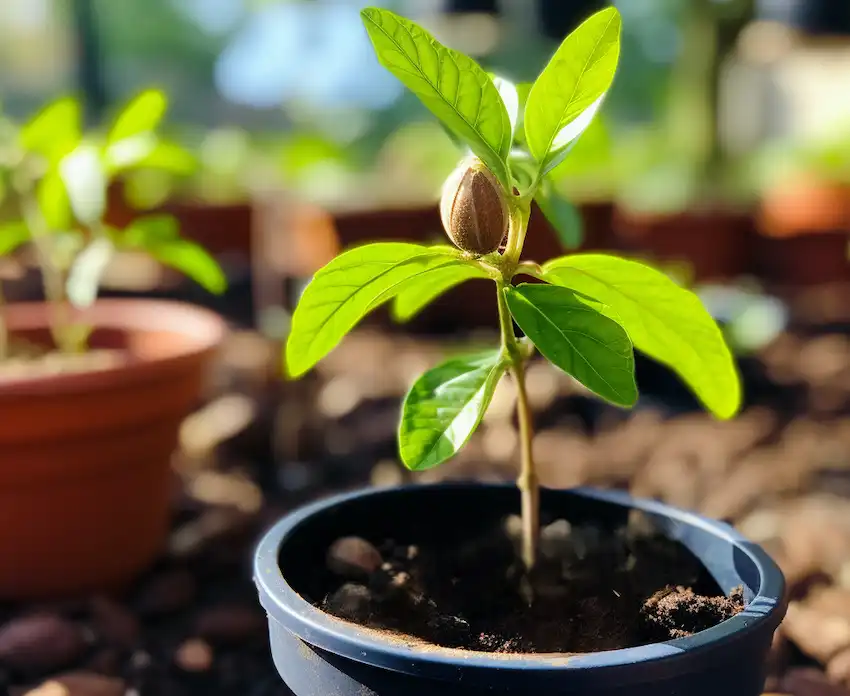
When the seedlings are one to two years old, they are ready for transplanting to a permanent location.
Choose a site with full sun, ample spacing, and well-draining soil.
Dig a hole twice as wide as the seedling’s root ball and enrich it with compost or organic matter.
Carefully lift the seedling, ensuring minimal damage to the roots, and plant it at the same depth it was growing previously. Firmly pack the soil around the roots and water thoroughly.
6. Pecan Tree Maintenance
Maintaining mature pecan trees is essential for consistent nut production.
Prune the tree regularly to remove dead or diseased branches and to improve air circulation.
Monitor for pests like aphids and pecan weevils, as well as diseases such as pecan scab. Treat issues promptly with appropriate methods.
Provide deep watering during dry periods, especially in the growing and nut production seasons.
Fertilize annually with a nutrient blend tailored for pecan trees to support their growth and productivity.
7. Harvesting Pecan Nuts
Pecan trees typically begin producing nuts four to eight years after planting.
Harvest pecans when the nuts fall naturally or when the husks begin to split open. Collect fallen nuts daily to prevent spoilage.
After harvesting, remove the husks and dry the nuts thoroughly to ensure proper storage. Store the nuts in a cool, dry place to maintain their quality.
Growing pecans from seeds is a long-term project that requires patience, care, and dedication. However, the rewards are immense. Not only do you get to enjoy the satisfaction of cultivating your own tree, but you also benefit from a lifetime supply of fresh, nutritious pecans. With proper attention to each step, your pecan trees can thrive for decades, becoming a lasting legacy in your garden.
