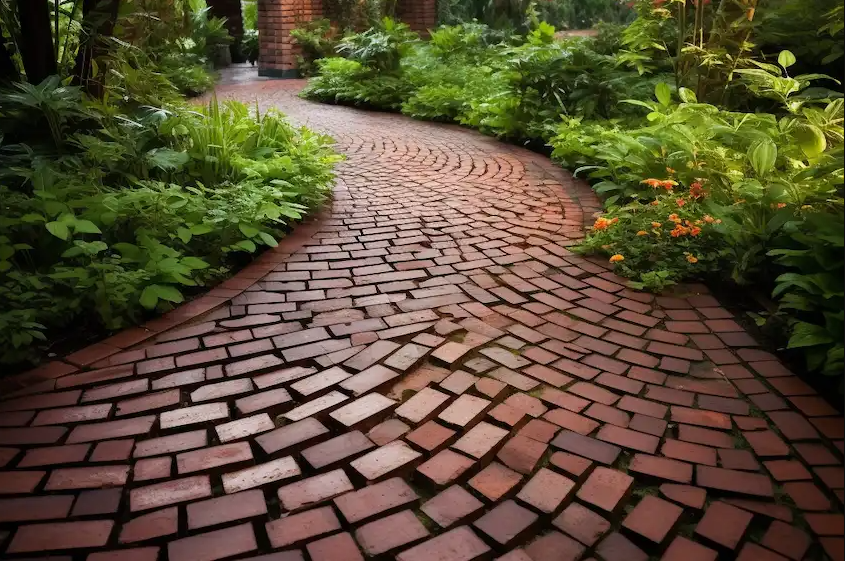
Adding a brick walkway to your garden enhances its charm and provides a practical path that invites exploration and movement through your outdoor haven. This step-by-step guide will help you craft a stunning and durable brick walkway, turning your garden into a place of beauty and functionality.

Step 1: Plan Your Design
Visualize Your Walkway
Start by imagining how the walkway will blend into your garden. Decide whether you want a straight, formal path or a meandering, natural design that complements the landscape.
Choose the Right Bricks
Select bricks that match your aesthetic and meet your durability needs. Options include classic clay bricks, contemporary concrete bricks, or rustic reclaimed bricks. Pick colors and textures that harmonize with your garden and home.
Measure and Calculate Materials
Measure the intended length and width of your walkway. Use these dimensions to calculate the number of bricks, sand, and crushed stone you’ll need for the project.
Step 2: Prepare the Site
Mark the Path
Use stakes and string to outline the walkway. Ensure the design is straight or curved as desired, and adjust it until you’re happy with the layout.
Excavate the Area
Dig out the path to a depth of 8 inches. This depth accommodates the gravel base, sand layer, and bricks, ensuring stability and longevity.
Lay the Base
Add 4 inches of crushed stone or gravel to the trench. Compact it with a hand tamper or plate compactor to create a solid, even foundation for your bricks.
Step 3: Lay the Bricks
Create a Sand Layer
Spread 2 inches of sand over the gravel base. This layer helps level the bricks and provides a flexible foundation that adjusts to changes over time.
Position the Bricks
Starting at one end of the path, place each brick firmly into the sand. Use a rubber mallet to tap them into place. Arrange the bricks tightly to ensure stability and minimize shifting.
Cut Bricks to Fit
For custom designs or edges, cut bricks to size using a brick chisel and hammer or a masonry saw.
Check for Level
Periodically check that the bricks are level. Adjust as needed by adding or removing sand underneath individual bricks.
Step 4: Add the Finishing Touches

Fill the Gaps
Sweep sand over the entire walkway, ensuring it fills the joints between bricks. This locks the bricks in place and provides added stability.
Compact the Walkway
Compact the bricks and sand using a hand tamper or a plate compactor. This step ensures everything is tightly secured and reduces future settling.
Clean and Rinse
Sweep away any excess sand and rinse the walkway with water to help the sand settle into the joints.
Step 5: Maintain Your Walkway
Regular Inspections
Check your walkway periodically for loose or uneven bricks. Address any issues promptly to maintain its durability and appearance.
Weed Management
Prevent weeds from growing between bricks by removing them regularly or applying a natural weed deterrent.
Replenish Sand
Over time, sand between the bricks may wash away. Reapply sand as needed to keep the joints filled and the bricks secure.
A Lasting Impression
Building a brick walkway for your garden is a project that combines creativity and practicality. With careful planning and execution, you’ll create a feature that enhances your outdoor space’s beauty and functionality for years to come. Take pride in your work and enjoy the transformation it brings to your garden.
Inspired to start your own brick walkway project? Share this guide with friends and let the magic of DIY gardening unfold!


